Install a Ceiling Fan and Be More Comfortable
Are high summer temperatures getting to you? Cranking up the air conditioning isn’t your only option. It’s just as well, because turning up the A/C can drive your electric bill through the roof!
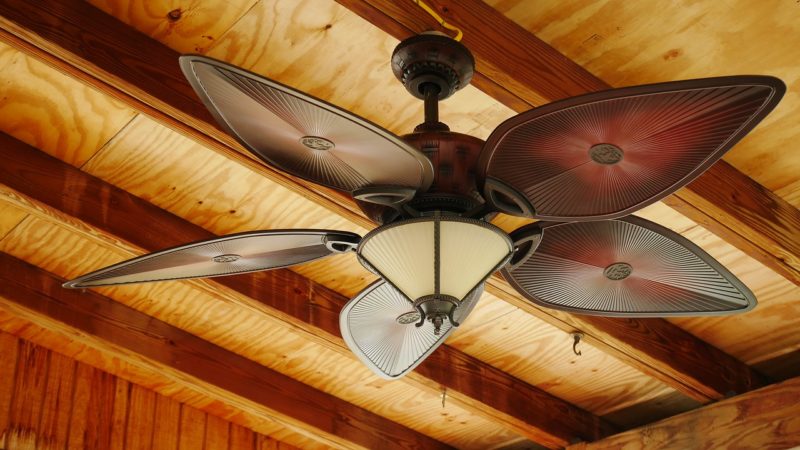
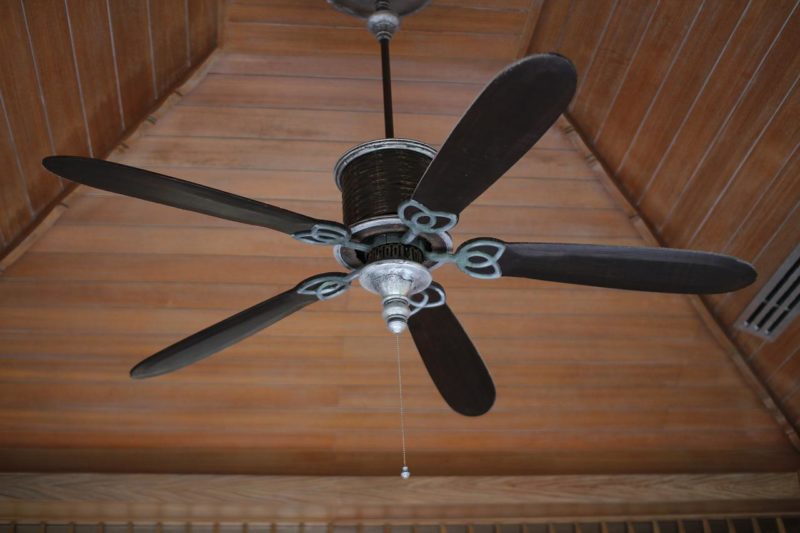
If you don’t have a ceiling fan in your living space, it’s time to install one. You should really consider installing fans in all the rooms where you spend a significant amount of time, including your living room, kitchen, and bedrooms. You’ll be surprised at how much more comfortable you can feel on a hot day when you’re sitting under a ceiling fan. The breeze ceiling fans create can make your room feel several degrees cooler. And you don’t need to call a contractor to install them – you can do it yourself. Follow these steps to get it done.
Turn Off the Circuit at the Breaker Box
Before you start working on the wiring in your home, you should always turn off the power to the circuit you’ll be working on at the breaker box. If you’re not sure which breakers control which circuits, you’re going to have to figure it out. Once you have turned off the flow of electricity to the circuit, grab a voltage tester and test one of the outlets in the room, to make sure the power really is off.
Disconnect the Old Light Fixture and Remove It
Taking down an old light fixture to replace it with a ceiling fan is pretty simple. Remove the glass globe or shades, and you should be able to see screws in the base of the light fixture. Remove these and gently pull the entire fixture down from the ceiling. Now you should be able to see the wiring. Pull off the wire nuts and untwist the wiring connections. Put the light fixture aside – you can use it again somewhere else or donate it to charity.
If you’re taking down an old fan, you will need to disassemble the fan and remove it in pieces. First, take off the glass bulb shades, bulbs, and light kit. Then, remove each of the blades. Then you can disconnect the motor body and remove it and the mounting bracket from the ceiling.
Check the Electrical Box and Fan Brace in the Ceiling
To safely hang a ceiling fan, you need to make sure it’s anchored to a fan brace and a pancake electrical box rated for use with ceiling fans. If your old fixture was anchored to a ceiling joist, you don’t need to install a fan brace – anchoring your new ceiling fan to a joist is ideal. If the old fixture was between joists, make sure there’s a fan brace up there, which there should be if you’re taking down an old fan.
If there isn’t a fan brace, install one. You can buy expandable, metal fan braces that you can insert through the ceiling hole and crank open from below. These braces have spikes on each end that dig into the wood of the joists to anchor the brace. If you can get at the joists from above, you can install a length of two-by-four between the joists, using 1.5 screws to secure it in place.
If you already have a fan brace in the ceiling, verify that the junction box is rated for fan use. If it isn’t, pry it out and replace it with one that is.
Assemble the Fan Motor Body
You will have to do this step on the floor. Your fan should come with instructions to help you assemble the motor body (and the rest of the fan, for that matter). Follow the instructions that came with your fan. Remember to pull the wiring from the fan up through the downrod, if you’re installing a model of fan that uses a downrod.
Set the Mounting Bracket
Anchor the fan mounting bracket to the electrical junction box and pull the wiring down through the bracket.
Connect the Fan Wiring
You might need someone’s help with this step, but most fans have a hook on the mounting bracket that allows you to hang up the motor body while you’re working on connecting the wiring. The wiring in your fan should match the wiring in your house – if it doesn’t, it’s time to call an electrician.
Connect the black (hot) wire in your fan to black (hot) wire in your ceiling, the white (neutral) wire in your fan to the white (neutral) fan in your ceiling, and the green or bare (ground) wire in your fan to the green or bare (ground) wire in your ceiling. Twist the exposed ends of the wires together to connect them, and secure those connections with wire nuts.
Fasten the Fan to the Ceiling
Now you can swing the fan motor body up into place and fasten it to the mounting bracket. Most fan designs use a ball and socket connection, with the ball being at the end of the downrod and the socket being in the mounting bracket. Once you have set the ball into the socket, screw the canopy in place.
Add the Light Kit
If you have purchased a fan with a light fixture in it, it’s time to install the light kit. You might have to connect the wiring for the lights the same way you connected the wiring for the motor body: black to black, white to white, and green to green. However, some light kits just plug into the fan motor housing. Once you have the light kit wired up, secure it to the motor housing, attach the bulb shades, and screw in bulbs.
Add the Blades
The final step is to screw the blade irons onto the fan blades and attach them to the fan motor body. Now you’re ready to turn your power back on, test out your new fan, and be more comfortable.

