Previous Story
Tips for Sanding & Polishing Solid Timber Floors
Posted On 10 Sep 2020
Comment: 0
Are your timber floors in need of a restoration? Want to save hundreds of dollars by doing it yourself? Like many people who plan to refresh your home, you may think that sanding and polishing is messy and difficult. You may even worry that you’ll make a mistake and damage the wood. But with the right preparation, and supplies from your local discount flooring materials supplier, refurbishing your own floor can be a cinch. We’ll show you how to do it in three easy steps.
Step 1: Prepare the Room
It may seem simple, but a lot of people overlook this critical step. Not only does careful preparation ensure a long-lasting finish, you’ll also avoid issues that might put your family at risk. Here’s a checklist of what you need to do:
- Move all furniture out of the room. If it’s built-in or can’t be moved, cover it with a sheet so that it’s not damaged by the sanding process.
- Remove the carpet. If it can’t be easily removed, use a utility knife to cut it into pieces. The same can be done with vinyl tiles or sheets. If the tiles are old, they may contain asbestos. Seek professional advice when removing these from your floor.
- Check to see if there are any loose boards or protruding nails. Loose nails can damage the sander. Make sure they are hammered at least 3–4 mm below the surface.
- Turn off ventilation and cover all ducts and grills with plastic tape. Put sheets over power outlets, vents, and wall hangings. Sanding produces fine particles that can get into gaps and appliances. You don’t want your fan blowing dust into the air when you turn it on later!
- If you’re sanding the kitchen floor, cover surfaces and remove exposed food.
- To stop dust from entering other rooms, seal the doorways with tape. If you want a better finish around doorways, consider removing the door from the hinge.
- Vacuum the floor and open your windows and doors.
- Use your safety glasses, earmuffs, and dust mask.

Step 2: Sand the Floor
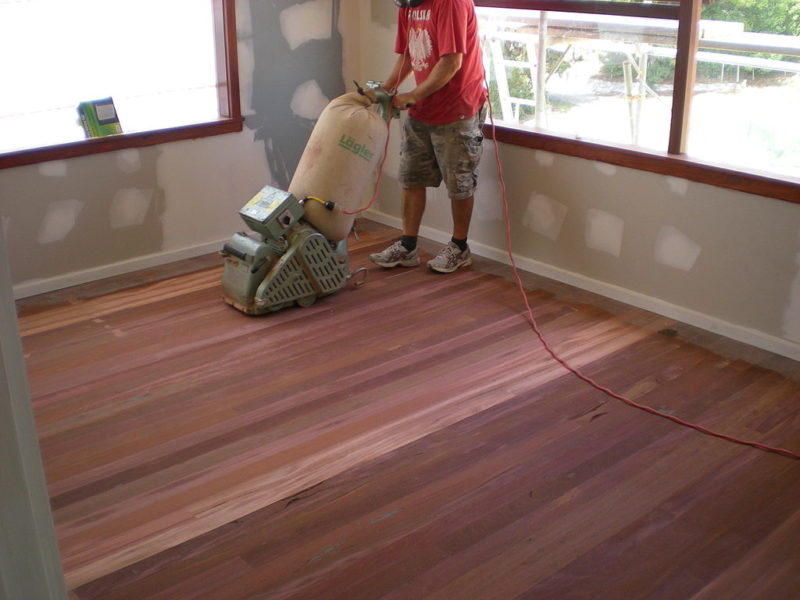
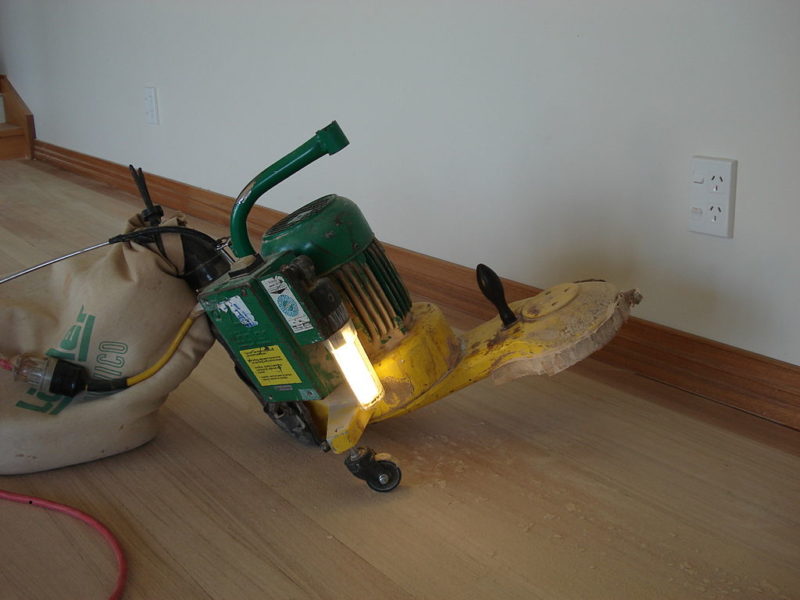
You’ll need two types of machines for sanding timber floors: the drum sander and the hand edge sander. A drum sander is used to sand the floor, while the hand edge sander is for corners and baseboards.
You’ll also need sandpaper with the right grit. This determines how course or fine the sand will be. The higher the grit number, the finer the paper. For example, 24-grit is coarse and 1000-grit is very fine. Start by using coarse sandpaper, follow with medium, and finish with fine.
Stug.stug at the English Wikipedia / CC BY-SA
New floors don’t require coarse grit sanding, so start with medium grit. Keep in mind that older or worn floors have different requirements. A common sequence for timber floors is 40-60-100.
The Coarse Sand
Using the coarse grit sandpaper, sand diagonally across the room from one corner to the other. Repeat this at least three times, then finish the floor at 45 degrees to the floorboards. To sand the corners, use the hand edge sander with the same grit. Difficult corners and baseboards should be done by wrapping sandpaper around a scrubber. Remember to vacuum the room between stages.
The Medium Sand
The medium sand polishes the scratches that were made by the coarse sand. Instead of working diagonally, sand along the length of the floorboards.
Stug.stug at the English Wikipedia / CC BY-SA
The Final Sand
This is the stage that ensures the smoothness of your floor. Before you begin, fill all holes with a water-based putty. When the putty is dry, use the fine sandpaper and follow the same procedure as the medium sand. Keep sanding until you’re happy with the finish.
Step 3: Finish the Floor
You can choose between two floor finishes: water based and oil based. The most popular is a water-based polyurethane varnish, which produces less odor and cures quickly. This is available in gloss, matte, and semi-matte.
Mix the finish by following the manufacturer’s instructions. Apply it to the timber floor with a varnish brush and smooth it across the boards to prevent bubbles. The ideal room temperature for application is between 12 and 25 degrees Celsius. Brush from one corner of the room to the other, making sure you don’t brush yourself into a corner!

Wait for the varnish to dry, then apply a second layer. When you’ve finished, wait 2–3 days for the floor to cure.
There are many benefits to hardwood floors and as you can see, sanding and polishing your own floors can be a great way to breathe new life into old floorboards. Not only will it impress your friends, but they’ll think you’ve got a floor specialist on speed dial!