Previous Story
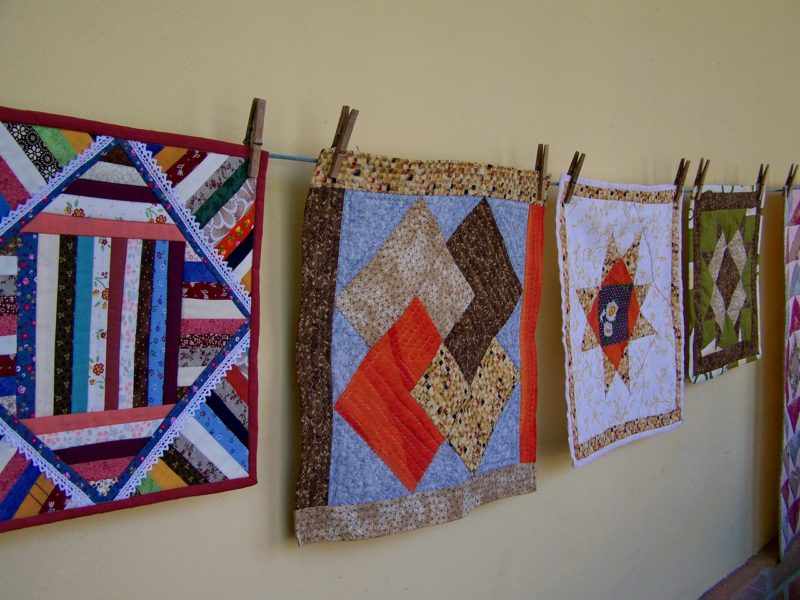
3 DIY Beginner Quilting Projects
If you’re a beginning quilter looking to strengthen your skills, give one (or all) of these DIY projects a try!
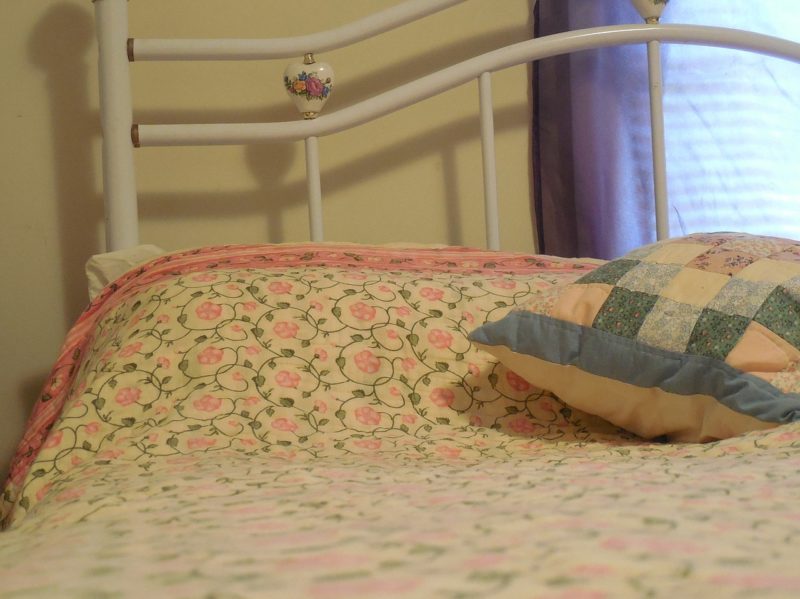
DIY Bedroom Pillowcase
A pillowcase is simple yet can add so much personality to a bedroom. Whether you want to make this for yourself or someone else, it’s a good beginner’s project that can boost your confidence.
For this project, you will need a yard of fabric for the main part, one-third yard of fabric for the cuff, a needle, and thread. Layout your fabric and cut a 40” by 27” panel out of the main fabric (the body of the pillowcase) and a 40” by 9” panel for the cuff.
Next, lay the cuff fabric out flat so the right side is facing up (the patterned side that you want to show). Lay the body fabric on top of the cuff fabric, right side facing down so that the top edges line up. Pin the fabrics together so they don’t jostle around.
Then, roll the body fabric as you would a burrito towards the top edge, stopping a few inches from the top so you can see the cuff fabric underneath. Grab the cuff fabric and roll it over the body fabric so that the bottom edge meets the top edge. It’s just like a burrito, right?
Pin the edges together and then stitch a 3/8” seam along the top edge. Then, carefully fold over the cuff so that you can pull the body fabric out of its little burrito shape and lay it flat. You should have the beginnings of a pillowcase.
Fold the pillowcase in half so that the right sides are facing out and the side edges meet. Stitch down the sides and along the bottom using a 1/4” seam. Turn the pillowcase inside out and stitch the side and bottom seams with a 1/2” seam. Turn it right side in and you’re done.
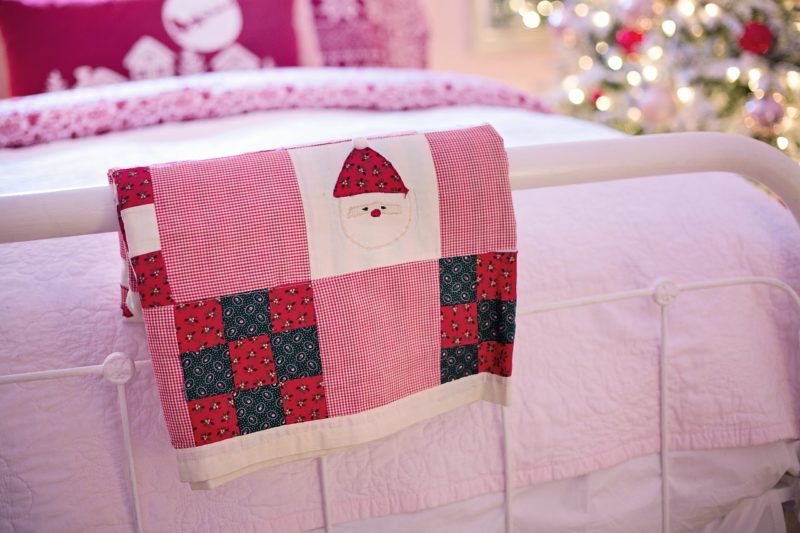
Quilted Hand Towels
Custom quilted hand towels make a gorgeous housewarming gift or a fun little project to do to practice your stitching.
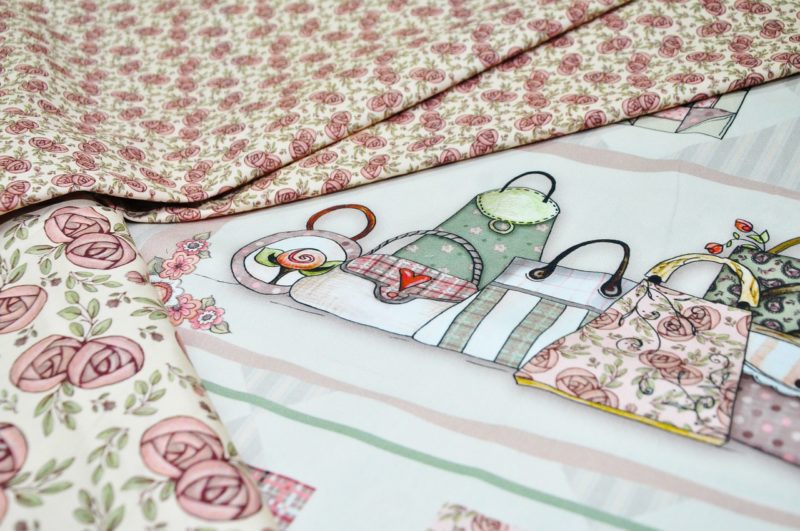
You will need a few hand towels (preferably white), a needle, thread, and the fabric of your choice. Drapery fabric is a common choice for home decor pieces like these, and there’s an almost overwhelming selection of fabric patterns you can find in physical and online stores.
For best results, iron out the fabric so it’s nice and flat. Cut out two strips that are about 4” tall and 1-1/2” wider than your hand towel. Stitch them together so that you have one long thin strip of fabric. Lay it flat so that the stitched seam is facing up.
Next, place the hand towel on top of the fabric strip so that the strip’s seam lines up with the left side edge of the towel. Pin the fabrics in place, then bring the strip over the width of the towel, pinning it in place. Do the same thing with the back of the towel, securing the fabric strip in place with pins.
Trim the edges of the fabric strip so that they’re one inch past the hand towel’s edges. Fold the bottom edge of the strip onto the top of the hand towel so it’s in line and pin it in place.
Then, you can stitch along all the edges of the fabric strip using a 1/8” seam. Repeat this with as many hand towels as you want. As you can see, quilting is not only an art, or a hobby. It’s also a very convenient way of creating unique home decor pieces, ideally with the use of drapery fabrics.
Simple Baby Blanket
This project uses a few different fabric patterns to create a sort of scrappy fabric baby quilt. It’s more adorable than it sounds! You will need six different fabrics, each 3/8 of a yard. You’ll also need 1-1/2 yards of backing, 3/8 of a yard of binding, and a 43” by 50” piece of batting.
Take each fabric one at a time and maintain its width but cut a 2” tall strip, a 3” tall strip, and a 4” tall strip. After repeating this for each fabric, you will have six strips in all three heights.
Next, stitch the bottom of a 2” strip to the top of a 3” strip; then stitch the bottom of that 3” strip to the top of a 4” strip. As you repeat this step, mix and match the fabric patterns to get that scrappy look. You can also change the order of the strips, such as placing the 3” strip on top and the 2” strip on the bottom. When you’re done, you should have six sets of stitched strips.
Take one of your stitched strips and cut it into three 13” wide pieces. Repeat for the remaining five stitched strips to get a total of 18 13”-wide blocks.
Layout your blocks three across and six down. That will be the design of your quilt. Sew the long edges of each column together so you have three columns of fabric that are six blocks long.
When the stitching is done, lay the finished fabric out flat and place the batting piece on top, followed by the backing piece. Line up the edges and cut your binding 2-1/2” wide so you can bind your blanket.
Author’s Bio:
Lori Wade is a journalist from Louisville. She is a content writer for who have experience in small editions, Lori is now engaged in news and conceptual articles on the topic of DIY and quilting. If you are interested in crafting or lifestyle, you can find her on Twitter & LinkedIn. She has good experience and knowledge in the field.