Split System Installation Made Easier
What is a split system?
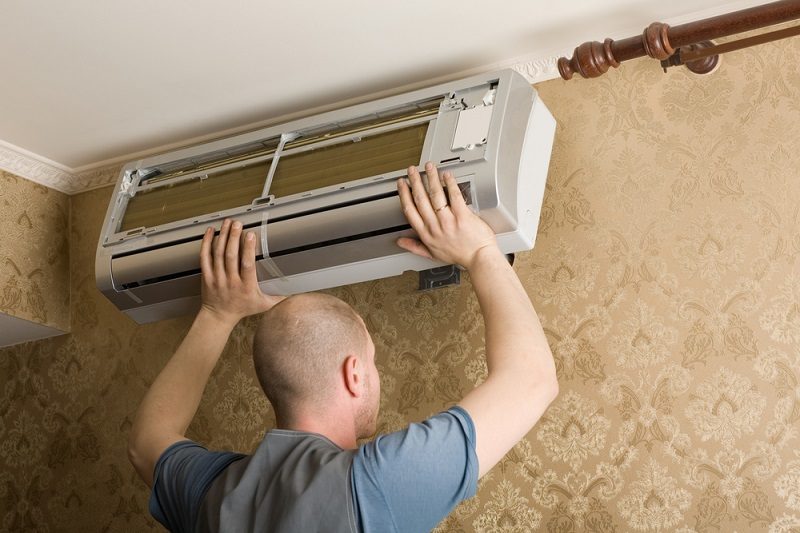
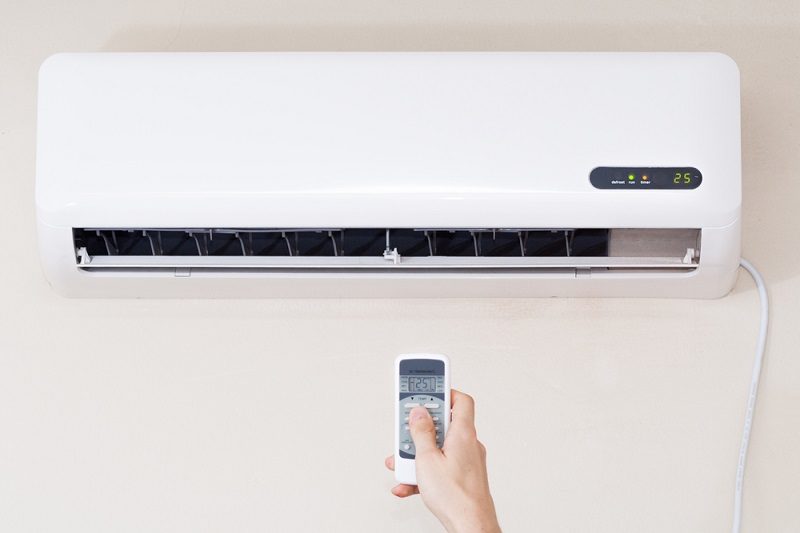
A split unit, as the name suggests, is split into two parts consisting of – an indoor unit and an outdoor unit. The outdoor unit is installed outside the wall of the room which has the indoor unit installed. The outdoor unit is composed of the condenser coil, the compressor and the capillary tubing or expansion coil. The indoor unit is the one which is directly visible to us and hence, is sleek and minimal, comprising of the cooling coil, long blower and the air filter. Although most of the times experts are called for a split system installation, it is possible to install the system by themselves, without having prior training. However, a few things ought to be kept in mind.
Things to keep in mind during a split system installation:
Installing the system right, the first time ensures great performance and long life from the very beginnings. There are ideally only seven steps to split system installation but if not being careful, the results will be disastrous. The steps are:
- Site the installation
- Unpack and inspect
- Install interior unit
- Install exterior unit
- Wire the power
- Check for leaks
- Evacuate and charge

Apparently, the steps look like a cake walk but the first very pivotal step is to read the manual very carefully and meticulously. That will ensure knowing the function of every part and prevent a failure in the installation process.
- Before proceeding with the split system installation, it is of umpteenth importance to check the strength of the wall. The wall should have to have the strength to hold up two very heavy units, so it is advisable to examine the wall first.
- Split systems come in two boxes and after unpacking, the contents of every box must be inspected before putting them together. In case of any defects, the dealer should be contacted.
- Next, the two units have to be positioned accurately. The indoor unit must have a minimum of twelve inches on its right and left sides and not less than four inches from the top. From the ground, it must be seven and a half or eight inches above. The clearance of the outdoor condensing unit should be no less than four inches from the back and left sides, twenty-four inches from the right and twenty-eight inches from the front.
- As far as the positioning of the units is concerned, it is best to locate them at a place away from direct sunlight and water. The outdoor unit must be kept at an open place so that the dissipated heat gets a chance to escape. Split system installation can be a little tricky in the sense that the indoor unit has to be mounted in a tilted angle so that the accumulated water can have an unrestricted flow through the drainage pipe. Its functioning depends upon gravity so the drainage pipe should not only have a tilted angle but also face downward to ensure proper drainage of accumulated water.
- The outdoor unit should always be kept on a flat surface because when the AC is on, there is a lot of vibration and if the unit is on a levelled surface then it may suffer some damages.
In a split system installation, it is always advised to have a gap as minimum as possible between the indoor and outdoor units because the coolant flows through copper tubes in a very low temperature between the units so if the gap is made too big then there is some loss of the cooling effect.

Another very crucial step is to check for leaks. The knobs should be secured tightly or wrenched properly if not then there might be leakage of the gas and thereby a huge loss of the cooling effect.
It is observed that most consumers call for a mechanic for a split system installation but if the manual is read carefully and the instructions followed, then the job can be done by the consumer herself/himself. It does not only save money but also helps one to know the machine better so that in the future if any malfunctioning occurs, the consumer does not have to be dependent on the mechanic.


