Previous Story
How To Install Limestone Tiles in 5 Easy Steps?
Limestone is a vibrant sedimentary rock which holds small fossils on its surface and is characterized by its light color and softness. When stone cut from this rock is further structured into tiles, they can be easily installed at almost any part of your house. The installation process of limestone tiles is quite similar to that of other tiles. The only important thing here is that you must be more careful while handling the tile and installing it either on the floor or on the wall. Therefore, a lot of care should be taken to protect the tiles so that they do not absorb color from the grout and motor when they are being placed.

Step 1- Accurately Measure the Area
The first step is to measure the area where you want to install your tiles. Once you are done, try to find a centerline with the help of the measurements taken. Use a chalk or any other marker and draw a line to mark the spot. If you want to have tiles for one room, for example the living room, just draw the centerline from the living area up to the wall that is adjacent to the room. Always remember to mark the centerline vertically top to bottom of the wall.
Step-2: Lay the Limestone to Check Measurements
The second step is to lay the limestone directly on the area that you have measured for its installation. Here, you can consider the area of the limestone tile its shape and its size. An easy trick here is to try and use different tiles on the same floor as this gives a beautiful look of contrast to them. So, all you have to do is take tiles from multiple boxes and then just blend them together at the area of application. Now, if a few stones have prominent fossil marks then place them at areas where they are more likely to be seen, and if some hold distinct colors or patterns then you can place them at the edges to highlight the vibrancy of the tiles.
Step-3: Start Placing the Limestone Tiles in a Balanced Way
After you are satisfied with the measurements and the shapes of the limestone tile that you are using for the installation, the next step is to place them. While placing the tile always remember to start from the centerline that we had placed earlier and work till the end of the line. At the start of the centerline you can use the amazing color tiles that will highlight the installation. For spacing the tiles in a balanced way you can use tile spacers too.
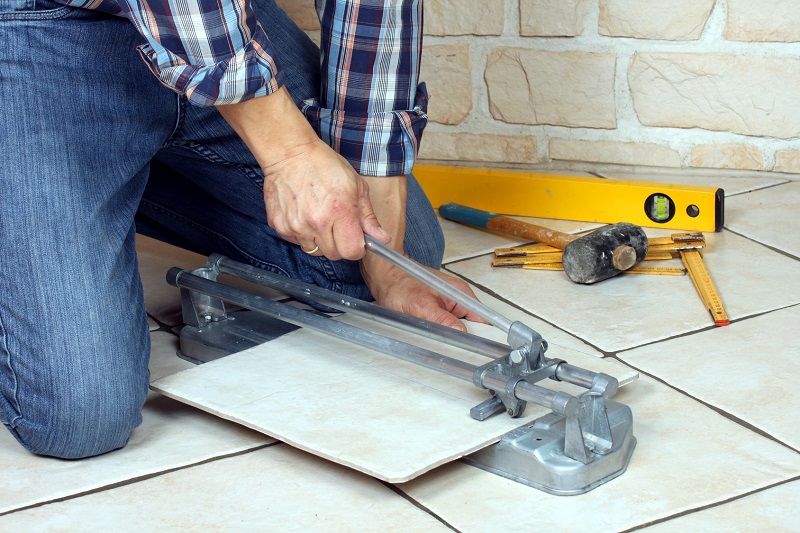
Step-4: Cut the Limestone Tiles for Fittings
No matter how accurate you are going to be with the measurements, still there are chances of error. So, when any such error pops up then the best way to handle it is by cutting the tiles into appropriate shapes so that they fit into the desired area. For doing this, you can take help from a tile cutter which will allow you to cut your limestone tiles without any trouble.
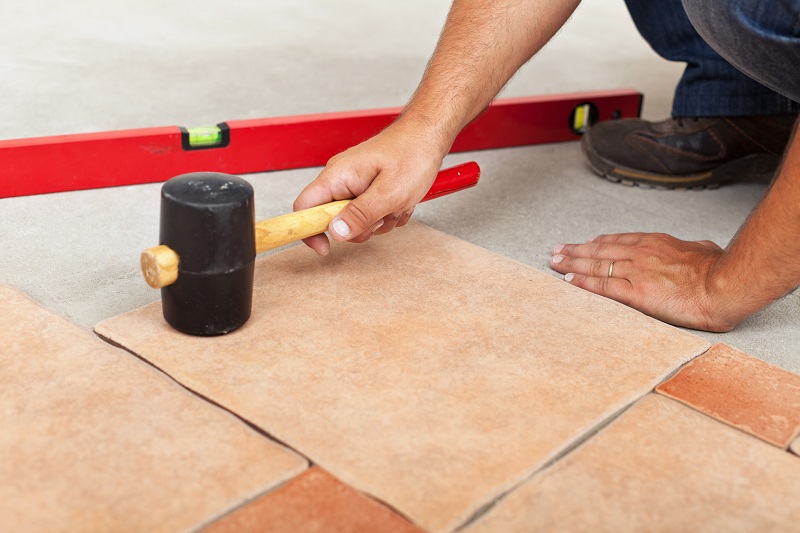
Step-5: Use the Essential Tools for Installation
Once you have installed the tiles properly at the area of installation take a thin coat of white latex (additive motor) and apply at the area where you want to install the tiles. After that, press the tiles on this coat and allow them to dry up. As you go on placing the tiles always beat them with a rubber mallet so that they can be fixed properly. The motor takes about 24 hours to dry up so let it dry and then grout the limestone tile so that they can be ready for use.
The steps explained here in this blog will help you to install limestone tiles in your home. Keep in touch to get more information.