Basic step-by-step guide for extending your LED strip lights
LED strip lights can lend any room a neat, elegant lighting choice. Plus, they’re a versatile product that you can tailor to meet your needs: you can shorten them easily along the cut lines or connect strips between their copper dots to extend them. Read on for a basic step-by-step guide for extending your LED strip lights.
What you need
Wire cutters
Wire cutters are important for most electrical projects. There are plenty of different options for your LED strip light project. Adjustable wire cutters are versatile but need to be used carefully to avoid damaging the wiring. Alternatively, gauged wire cutters can be used with all sorts of different teeth and can be easier for beginners to use without making mistakes.
Solder wire
Solder wire is a crucial material used to connect two separate wires together during this project.
Soldering iron
The soldering iron is the tool that melts the solder wire, helping to form a connection between two different components. It consists of a heated tip to melt the solder, as well as an insulated handle so that you can use it with precision.
Wire
You’ll also need wire to be able to attach different strips together when it comes to extending your LED light.
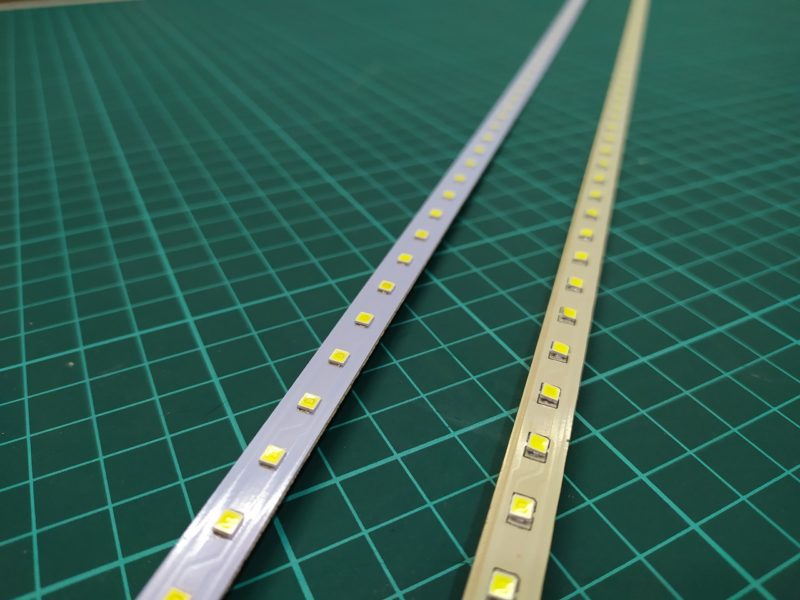
Strip light
Naturally, you’ll also need LED strip lights to begin this project. Ideally, you’ll have worked out the precise measurements required and buy the right amount of strip lights based on this.
Masking tape
Masking tape can also be useful for holding the strip light down as you’re working on this project.
The process
To begin with, you need to work out how long you want your LED strip lights to be. From there, you’ll be able to cut to the right specification. Start by cutting your strip to the exact measurement along one of the cut points – wire cutters are ideal here, but scissors can be used if you’re confident.
Once your strips are at the right length, you can connect them. Tin the copper dot connectors by adding a little solder to each dot. Once you’ve tinned the dots, you can connect both strips together with your soldering iron. Make sure you hold the soldering iron on the dots long enough to avoid a cold solder. From there, you simply need to test your strips by attaching an electrical connection and seeing if the entire strip lights up.
Extending your LED strip lights can be a satisfying project. By gathering the correct equipment and by following this step-by-step guide, you should be able to connect your strips together and get the perfect extension.

