An Essential Guide to Installing Marble Kitchen Benchtop
A marble kitchen countertop can bring a sense of luxury to the family home. Once you’ve made the decision to install one in your kitchen, there are a few aspects you’ll have to consider before you start your project.
1. Make preparations
The first key step is to measure the size of your counter area, to determine the appropriate measurement of the new marble countertop. Once you’ve defined the dimensions of the benchtop, hire an interior designer who can help you choose the best marble countertop for your kitchen.
Another essential task is to pick a marble color, which should match the style of your kitchen. You’ll find a wide variety of stone colours available on the market today, such as black, gray, beige, blue, and green. If you want your kitchen to look sleek, go for white or black marble. You can consult an interior designer or talk to your supplier if you need help with finding the right option to complement your kitchen and the rest of your home’s overall style.
Once you’re clear on your marble benchtop size and you’ve engaged a designer, you’re ready to move on with the planning and ultimate installation. You can do the following:
2. Determine the cost
It doesn’t matter whether you’re renovating your kitchen or just replacing the benchtops; you must begin by considering the cost of the entire project. The average cost of marble countertops is between USD$30 and USD$100 per square foot. You can determine the actual cost by considering the type and material of marble countertops you wish to install, the size, and the possible number of slabs required. You’ll also have to take the cost of labor into account if you’re planning to hire professionals, which is critical.
To be sure about the project’s cost, you can hire a contractor who will come up with a quote based on the information you give. However, it’s essential to note that the contractor can only offer an estimated cost, and your budget must be flexible to changes in prices or emergencies once the project starts. After you’ve got the project’s estimated cost, you can take the next step.
3. Choose and review slab options
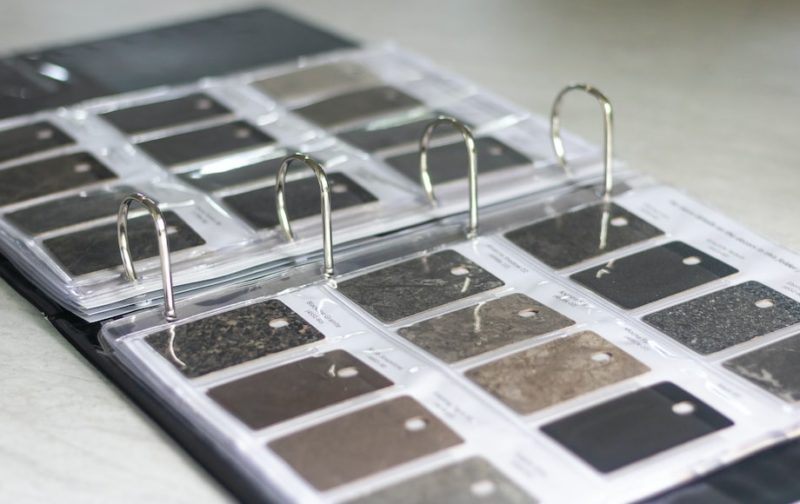
The next step is to choose a slab. Head to the supplier’s workshop and select a slab you like based on your needs. Consider the vein pattern and sheen that suits your kitchen renovation plan.
The supplier can show you different slabs with your preferred color, and you can opt for the one that will go well with the rest of the kitchen decor. To make this process easier, collect pictures of the kitchen design you want.
At this point, you may want to consider the various pros and cons of using natural marble vs. engineered stone benchtops. Where marble stones offer an authentic luxurious look and feel, engineered stone is often more affordable, easier to maintain, and available in a wide range of colors and patterns to suit your home’s existing style.
4. Confirm the measurements and create a template
The slab you pick will be cut according to the kitchen measurements provided. A marble benchtop’s typical size is 158 inches and 24 inches deep, with an uninterrupted 36-inch-wide section next to the sink area.
You must ensure that the measurements are accurate for the benchtop to fit because once the marble is cut, it might be challenging to alter. If you’ve hired a contractor, they’ll use the kitchen measurements to create a template to cut the marble stone.
5. Fabricate the benchtop
A fabricator will refer to the template each step of the way to ensure that the marble is cut perfectly. The effort and the time taken to measure and cut the marble will lead to a product that will be a great fit for your kitchen.
Marble stones are delicate and must be handled professionally to guarantee positive results. Fabrication of the countertop is done using modern technology to achieve accuracy and precision. The supplier uses the measurements and templates you’ve provided and enters these details into their computers to cut the marble.
Therefore, you need to make sure you’ve given accurate measurements. Though the fabricator will confirm all the details before doing their job, double-check the information and make necessary changes if needed.
6. Leave the installation to a professional
Once everything is in order, let a professional handle the installation. See to it that other items, such as cabinets, have been added. Since the marble slab has already been cut, it’s ready to be mounted.
If there’s any excess marble, it can be scraped using an electric sander. After the kitchen benchtop is in place, you can use silicone sealant glue to stick all the materials together. The best glue to apply is transparent silicone because it’s stable and maintains the color of the marble. An installer can also do an edge treatment on the benchtop, typically for an extra USD$10 to USD$40 per linear foot.
Leave the countertop to set overnight for it to dry properly and then clean the next day. Use a smooth, damp cloth to clean the benchtop. Also check for any imperfections that might need sanding. In the event you discover loose sections or offcuts, dispose of them properly to avoid injury.
Wrapping up
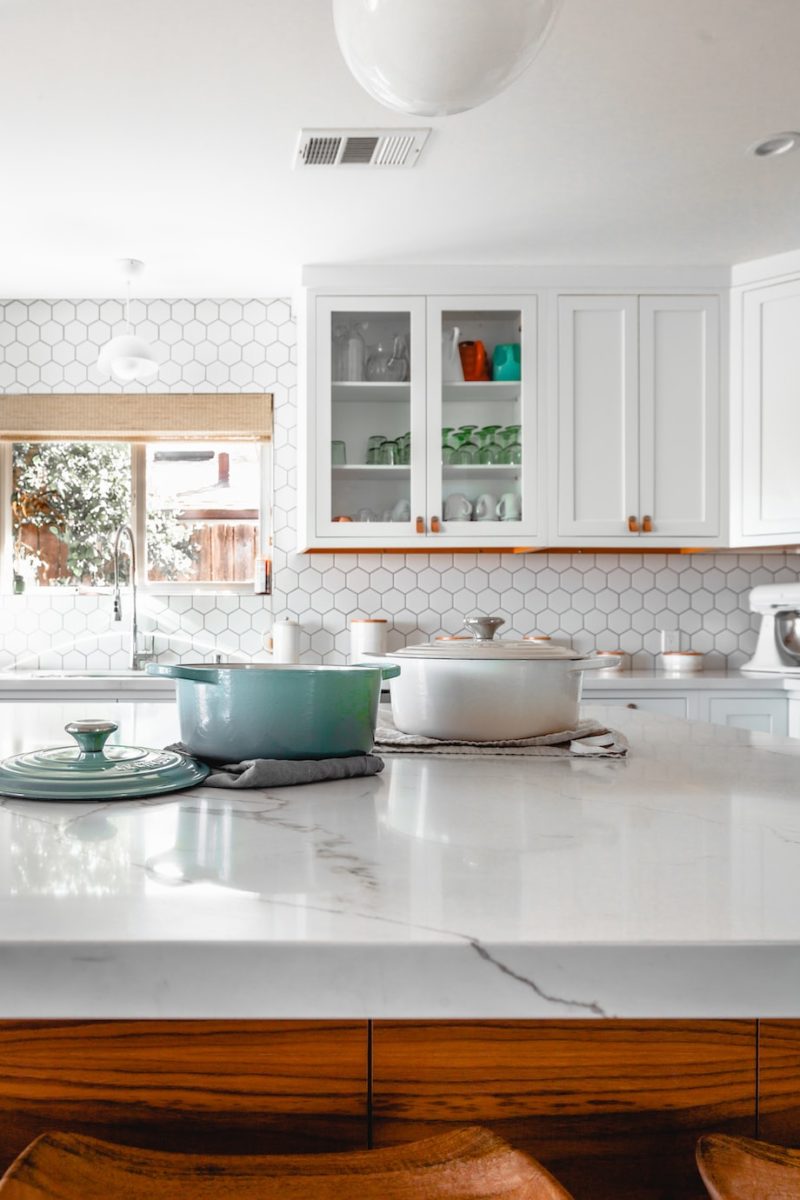
A marble kitchen benchtop can make your kitchen look bright, stunning, and elegant. If everything has gone to plan, once installed, your new marble benchtop will be an impressive highlight of your family home for years to come.

