How to Replace a Window in your Home?
Why do we need window replacements?
Windows are an essential part of a building. These are multi-purpose things. Windows are primarily meant for ventilation, sunlight, and outer view. Replacing a window and getting a new one to have many advantages. One of them is the improvement of the energy efficiency of the house. With new energy-efficient windows, the overall insulation of the house becomes much better. As the insulation becomes better less energy is required to regulate the inside temperature. The HVAC system has to work less and ultimately it extends the life of the HVAC system. As new windows improve the insulation so the temperature fluctuations become very less which makes your home comfier. Apart from these installing new windows also reduce noise pollution and makes your house secure.
Steps to replace a window in your home
Here is the step-by-step complete procedure of window replacement according to Window Replacement in Centreville VA. There are two types of window replacements available.
Full frame window replacements:
Full frame window replacement is the replacement of the whole existing window with the house frame. This type of window replacement is done when the existing window frames are old deteriorating. In this type sometimes we also need to remove interior and exterior trims and sidings.
Pocket or insert window replacement:
This type of replacement is done when we only need to replace the existing sashes, not the frames. Pocket window replacement is only feasible when the frames are in a good condition. It’s more DIY friendly than full-frame because in this we don’t have to remove current trims and sidings. Once we decide which type of window replacement we need, the first step is measurement.
Measurement:
Ordering a correct sized window measurement is the most critical thing. First, we need to measure the height and width of the pocket with measuring tape. Then we’ll measure the inside of the existing frame. Then the height of the window at the right, middle, left and width at the top bottom and middle will be measured. While ordering for a new window always use the smallest measurements.
The installation:
Cleaning the window opening:
Use a shop vacuum to clean any dust or dirt present in the window opening.
Flashing tape application:
Apply the flashing tape to the sill in such a way that it should fit the length of the sill and extends till the leg of the stool (the bottom edge of the inner side of the window. Make sure to work it into the corner of the stool as well.
Leveling of sill:
Analyze the level of the sill to make sure that there is no bowing. Shims can be used to level the sill. It should be ensured that they are placed correctly for proper leveling and secured with screws and flashing tape to avoid any movement.
Dry fitting of the window:
Dry fit the new window in the opening. Ideally, there should be a little gap around the frame.
Caulk application:
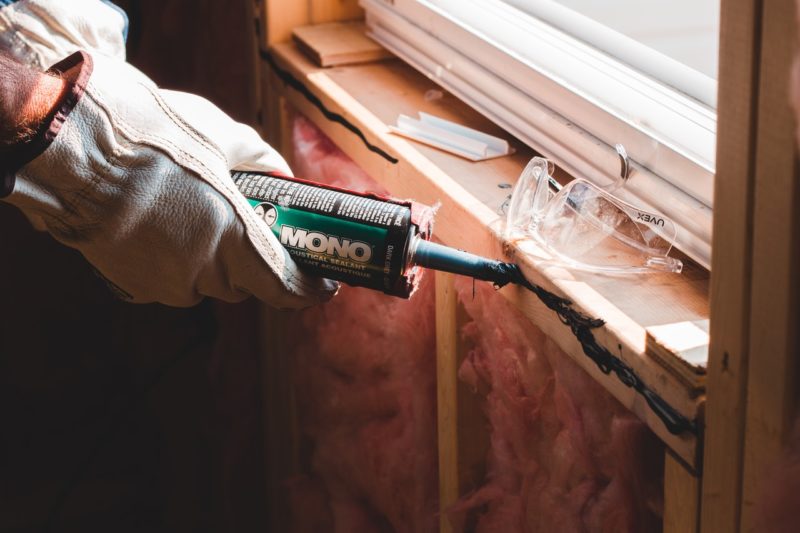
A 3/8-inch bead of silicone caulk should be applied at the interior head, at the stops, and sill.
Placing and securing the window:
Place the window in the opening in such a way that it should rest against the interior stops. Press it firmly against the caulk. Secure the window by using shims. Shims should be placed at the already pre-drilled screw holes. Drive screws into the holes via shims from inside.
Inspect the sashes:
Make sure that sashes should sit evenly in the frame. Use additional shims to adjust the frame of the window if needed.
Leveling of the window:
The level of the window should be perfect and plumb both upwards and downwards. Make sure that the window is working properly. If everything is fine then cut the shims that still sticking out.
Gap filling:
Gaps can be filled from outside by applying spray foam insulation. Spray foam insulation should be applied in a controlled manner to avoid overfilling gaps. Best Window Replacement in Bowie MD recommends that large size gaps can be filled with backer rod weatherstripping. Backer rod weatherstripping is good to make house windows air-tight and waterproof.
Sill adapter cutting:
Cut the sill adapter to an appropriate width by using a sharp utility knife.
Weep hole drilling:
Weep holes are intended to drain out water. Drill two weep holes in the bottom of the adapter and lock it into the window.
Trim installation and caulking the anterior:
Exterior trim should be installed around the frame with finish nails. Edges of the trim should be sealed with latex caulk. During sealing make sure to avoid the covering of weep holes. Fill out any noticeable nail holes with wood putty and paint the trim if needed. Apply the latex caulk along the anterior trim to finalize the installation process.

