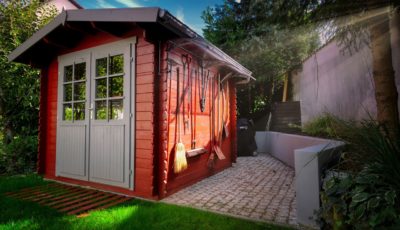
How to Create the Perfect Garden Shed
A shed in your garden can serve many purposes and can be used for storing many different things. You too can learn how to create a perfect garden shed for yourself and use it for whichever purpose: storage for gardening tools, furniture, old memorabilia, bikes, you can keep your pets and animals there, or turn it into your little workshop.
Before you start building a shed, there are several things you will need to take into considerations and prepare. Read on and find out what the four main aspects are.
1. Foundations
First of all, make sure your future shed is on a clear, wide and unobstructed area, one that is easily accessible, with enough space to work around it, maintain it and enter it. Once you’ve found the perfect spot, you can start the foundations.
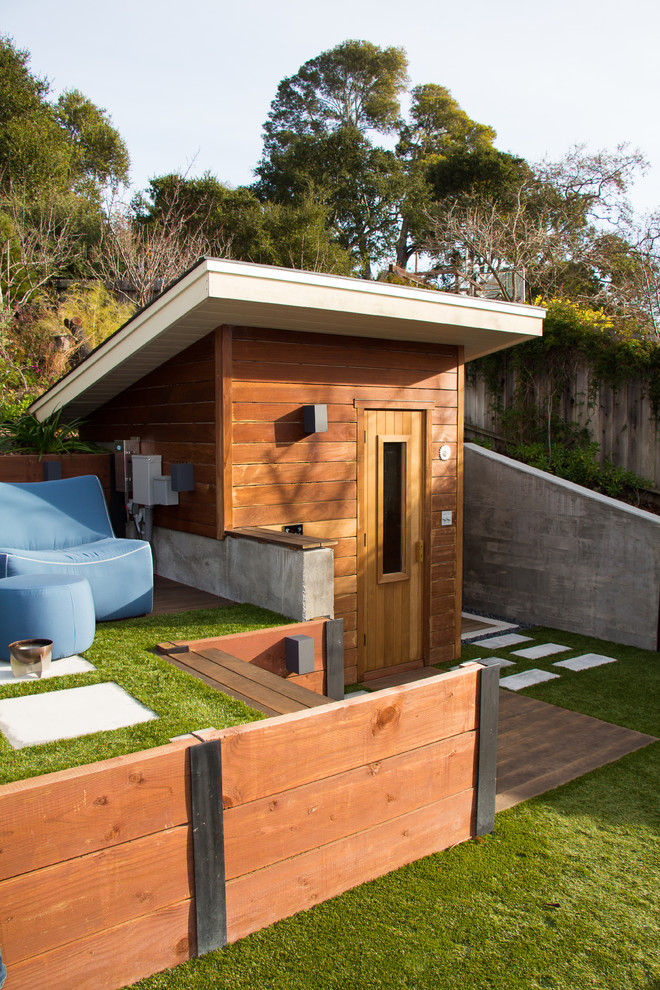
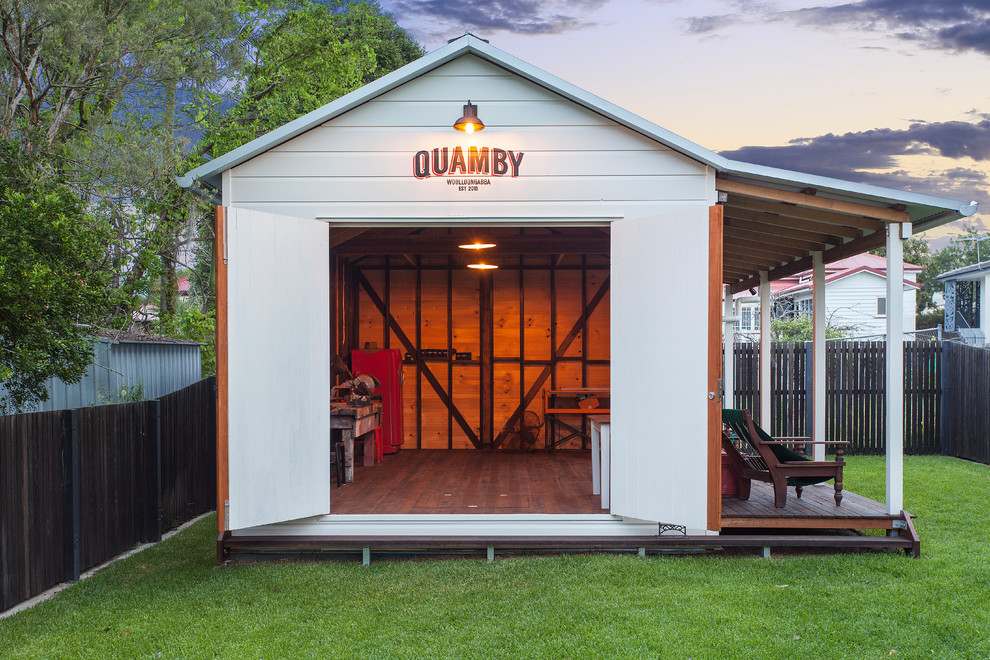
Photo by IS Studio Architecture
First, prepare the ground for the area where you’ve chosen to build your shed. Tamp it down to make it level and even. Concrete blocks are most commonly used for the foundations, so put four blocks in the corners of the designated area. It can be of any size, for example, a simple 6 x 8-foot shed.
2. Floor
String sill plates from one block to another, having them line up with the outer edges of the blocks, and then but band joists on top of them. Stagger them at the corners and nail the sills and joists together. Now you can fill the space with floor joists across the entire length of the sill plates, nailing them to the two opposite band joists. Measure it carefully and make sure they are evenly spaced. Nail each floor joist on both sides through the band joists.
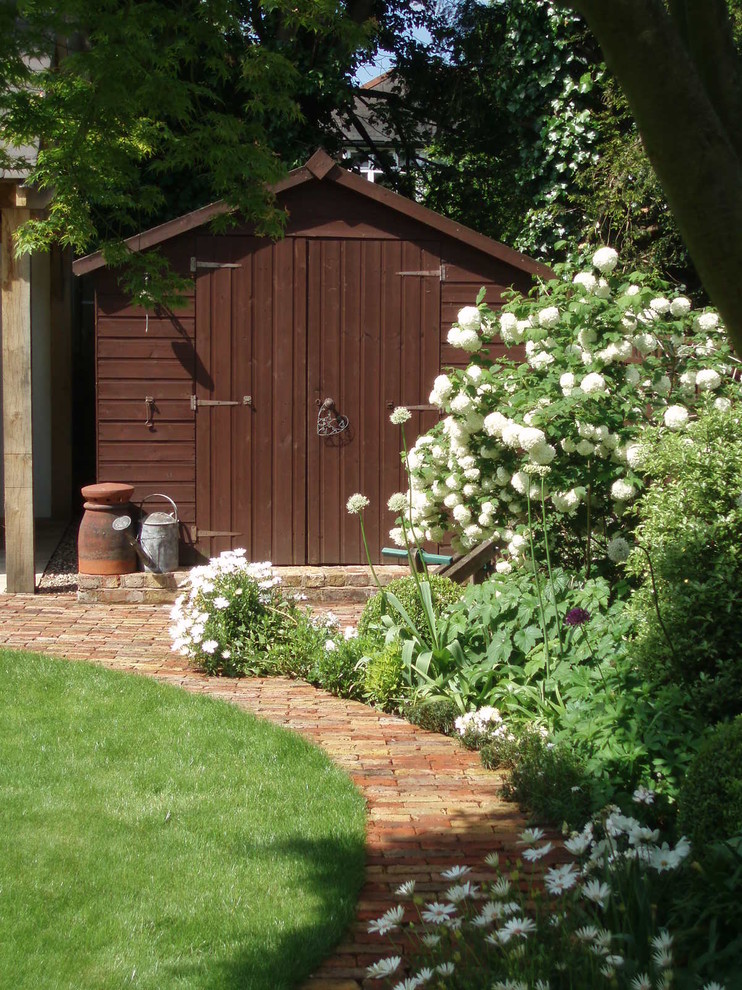
Photo by Smith & Sons Renovations & Extensions Ashgrove
Next, to finish and form the floor, add plywood sheeting and nail it to the joist all along its edges. Depending on the size of your shed, you may need two or more sheets of plywood. Use a circular saw to cut the plywood to the size you need and adjust it accordingly.
3. Walls
When it comes to the walls of your shed, they all need to be built slightly differently, so let’s start with the simplest, back wall. Cut the top and bottom plates of it to the same size as the floor. Place the studs vertically between the two plates to fill the entire length of the wall, making sure they are spaced evenly.
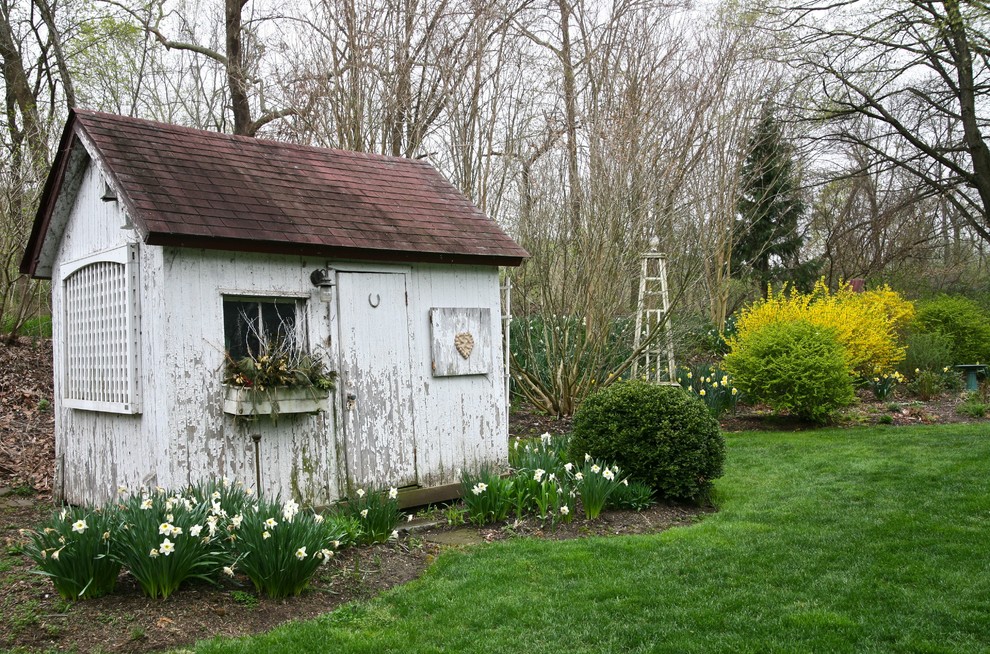
Photo by Beertje Vonk Artist
Building the front wall has only a few differences. First of all, it has to be a bit taller than the back wall in order to create a slope when you put the roof and to direct the rain away from the door. The second difference is that you need to make a door frame so that you can put in a door in the end.
When it comes to the side walls, it is just a little bit more work. Since the roof has to be sloped, and the front wall is a bit taller than the back one, the studs of the side walls will have to be different sizes. Simply measure and cut each one individually, according to the distance between the top and bottom plate. It’s also good idea to cut a small square or rectangle in the side for a window. You can use perspex sheets cut to size or glass for the window itself.
Photo by Joanne Winn Garden Design
Put your walls up by nailing them to the floor from the bottom up, as well as one to another.
4. Roof
Attach rafters all across the roof, making sure they overhang the roof a little for protection. Space them evenly and place blocking between each pair. Next, simply nail plywood sheeting to the rafters, just as you did to the floor. Add tar paper or any other preferred roofing material on top of it, making sure you leave no cracks.
Photo by Left Bank Home
Enjoy Your Garden Shed
There is a certain joy in DIY-ing and finishing a project by yourself, with your own two hands. Creating a shed is one such project, and as you have seen, it is not as hard as it may seem at first.
If you followed these tips and advice, then you have surely created a beautiful garden shed for yourself. Now all that’s left to do is to start filling it up with things, decide what you will use it for, and enjoy it.
Author bio:
Matt James is a freelance writer specialized in home improvement, smart technology, architecture & design. He has a love of outdoors and spending time with his dog Cooper. You can reach him on Facebook and Instagram.

