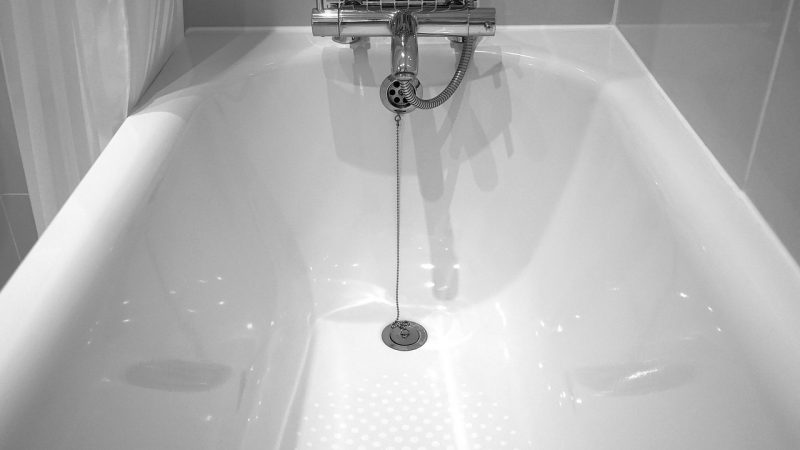
Handy Tips for Re-caulking a Bathtub in your Bathroom
It is simple to re-caulk the sink, shower and bathtub so as to fix the seals that are broken or damaged and it will aid in shielding from water and mould damage. Although bathroom caulking makes a sink, shower and tub resistant to water for many years; however, it does not endure forever. Over the period of time, caulking can crack, wear, shrink and discolour, which may gradually lead to water damage. By preserving bathroom fixtures, you can avert mould, mildew and water damage. Additionally, a fresh bead of caulk can make your space appear brand new once again!
Step 1
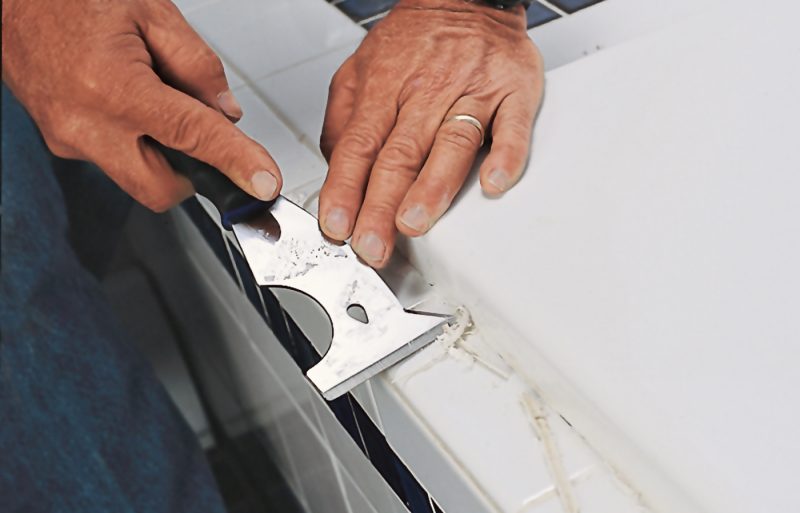
Get Rid of the Old Caulk
Inspect the caulk that’s in your bathroom. The major points to inspect are the places that get wet often like the base of a freestanding shower and the end of a bathtub where a shower head hits and the corners. The treatment will depend on, as per the actual condition of the caulk, which can be categorised as below:
- A razor blade is useful as you can use it to wipe up the old caulk entirely from the tiles.
- You may also free it effortlessly using a putty knife.
A caulk softener can accelerate the whole process.
Work cautiously and slowly. The tiles’ surface may be strong; however, the old caulk requires to be taken out totally from the surface of the tiles. Though some caulk spots may be in good condition than others, do your best to remove caulk from all the affected length. In this way, you are not pushing the old caulk to adjust to the new caulk because it will not always work.
Tip: Fill the bathtub itself with water. When you are working to re-caulk a bathtub, the water helps to weight the tub and expand gaps.
Step 2
To eliminate surplus caulk remnants, use a small vacuum. By rubbing alcohol, make a paper towel wet. Wherever you’ll require re-applying the caulk, use the alcohol to clean remnants from the surface of the tiles. This preparation work assists to make sure a vigorous connection between the clean tiles and the new caulk.
Step 3
Apply Silicone or New Caulk
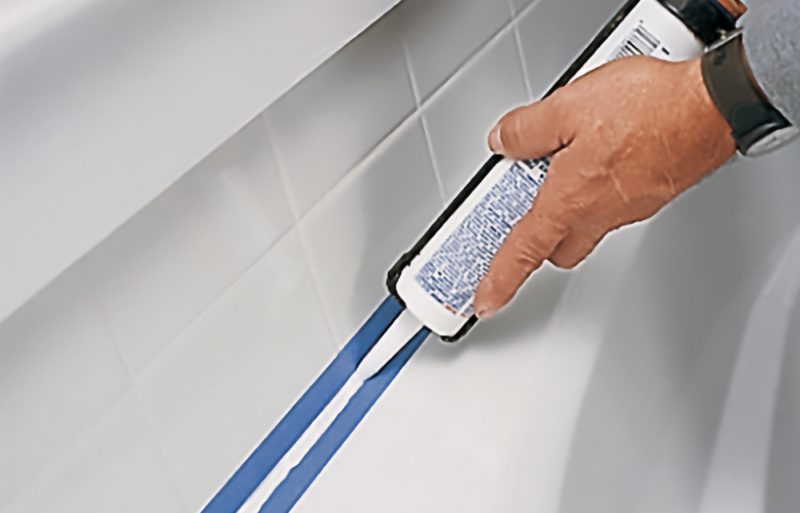
To trim the edge of the caulk tube, use a utility; and extended thin nail works well to pierce the foil, sealing the tube. To activate the tube, use a caulking gun and release the silicone or caulk. In one speedy motion, pull the tip of the gun that corresponds with the speed in which the caulk is coming out. If surplus caulk comes out in certain spaces more than others, or some spaces only have a fine line of caulk, no problems, it can be fixed. When you work slowly, you will get the knack of it. After completing each length, the tip of the caulk tube should be cleaned by wiping. Keep working to re-caulk all edges by continuing along the borders of the shower and bathtub.
Step 4
Clean Extra Smooth Lines & Caulk
Dip your finger in water and run it along the caulk line to smooth it out, this will get rid of extra lumps of caulk and produce even lines. It will efficiently force additional caulk into the open gap between the bathtub and its surround or between tiles when you wipe each length of the still-moisten or wet caulk. In case, you are using a paper towel over your finger, refold paper towel a number of times to ensure you are not transmitting surplus caulk onto the face of the tiles. Wipe clean and re-wet your finger often if you are only using your finger.
If you find out spaces wherein adequate caulk wasn’t applied, you may be able to wipe extra from another part of the same seam. If you aren’t able to find extra from another part, you can apply a new fine bead of caulk using the caulking gun and instantaneously smooth it out using a moist (wet) paper towel so that it blends with the remaining of the new caulk.
Most silicones and caulks have a short set time, so if caulk dries on surrounding tiles, get hold of a razor blade to reach the border of the caulk around the original bead, and then rub it clean from the tiles’ face without interrupting the waterproofing seal.
Summing Up
Explained above are the four easy steps through which you can re-caulk your bathroom; however, if you aren’t comfortable doing the steps yourselves, you can take the help of a local plumber who will do it for you in an efficient manner.

