Fall In Love with Your Painted Walls with These Technics
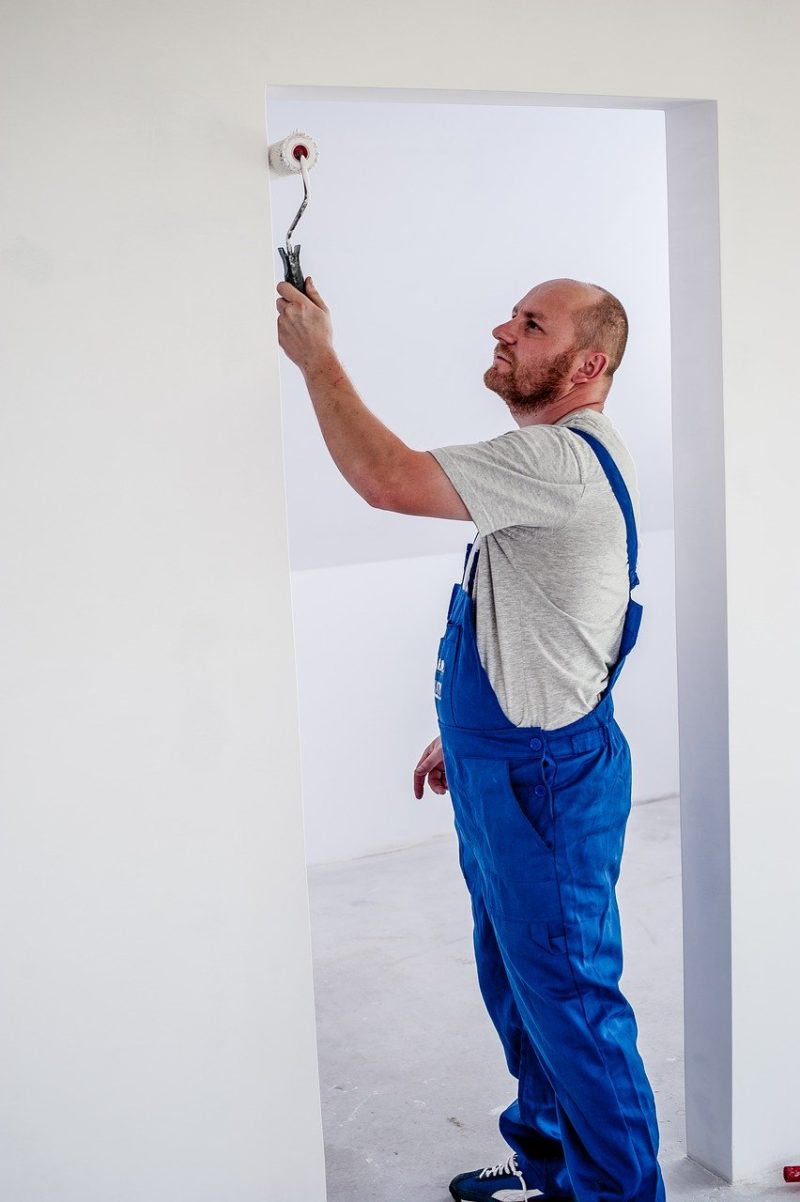
Painting the walls in your home is something that just about anyone can manage to do. But there are some things that you will need to pay more attention to when you are doing it. When you live in a hot place like Australia, it is always best to start painting a few hours before the peak temperature to achieve the best results. Keeping that in mind, here are some techniques that you can try in order to be in love with your walls.
Always Use Wall Primer
This is where most people go wrong when they get into painting their walls. When you are using a paint primer, you are giving your walls a much cleaner and smoother surface to work with. This is a crucial step if the walls that you are working with have dark or glossy paint on them. Make sure that you choose premium quality bonding primers in order to have the best results.
Test for Any Loose Paint with A Simple Duct Tape Test
Before you start painting the wall, you must prepare it. The best way to determine if you need to scrape it and sand it down is by doing the duct tape test. All you need to do is to tape a strip of duct tape over the surface that you are questioning and see if there is any loose paint or wall chippings.
Use Low-Stick Painter’s Tape
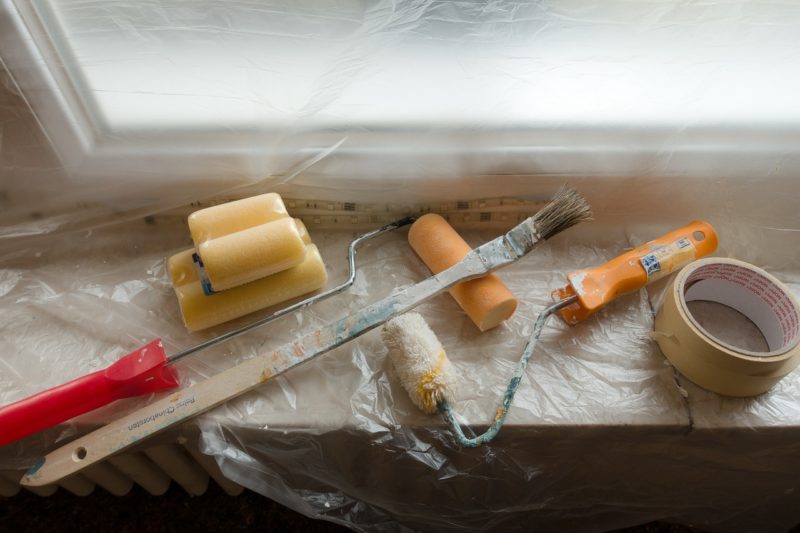
Painter’s tape also known as the blue tape, should be used because it has a low-stick adhesive that will come off easily that will prevent the primer or paint to peel with it. Even though it can be quite an expensive way to create perfect edges, they will be as perfect as they can be.
First Paint the Trim then the Ceiling and Then the Walls
If you closely watch professional painters from Sydney while they are painting, you will see that they follow a certain order when they are painting the walls. Usually, professionals pain the rim first, then the ceiling and lastly the walls. That is because when you are painting the trim, you don’t have to be so precise because you will paint the walls later. When the trim is dry, you will need to tape it off then you will paint the ceiling and then the walls.
Use a Sponge for Texture
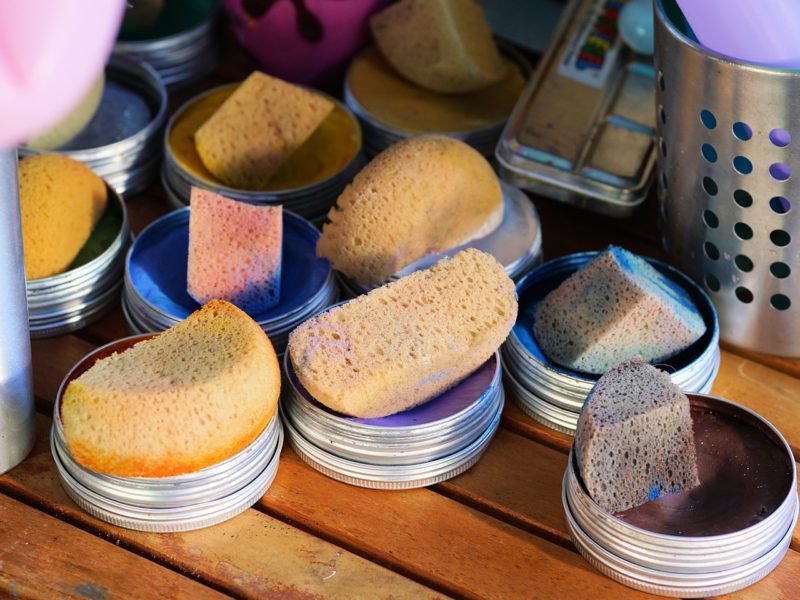
If you want to spice up your walls, but you aren’t quite sure how skilled you are by using a sponge roller, you will create a masterpiece no matter how skilled you are. This is also a great way to make painting a fun family project because there is no wrong way to do it.
Always Paint from Top to Bottom
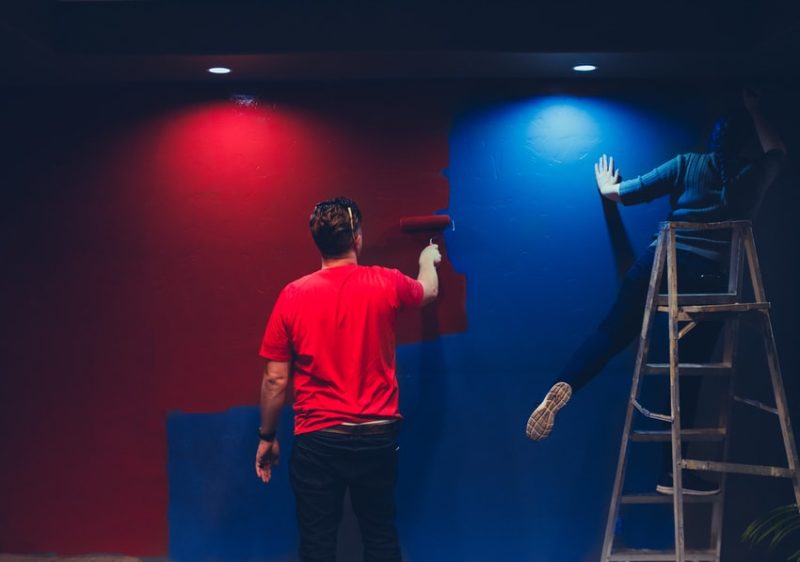
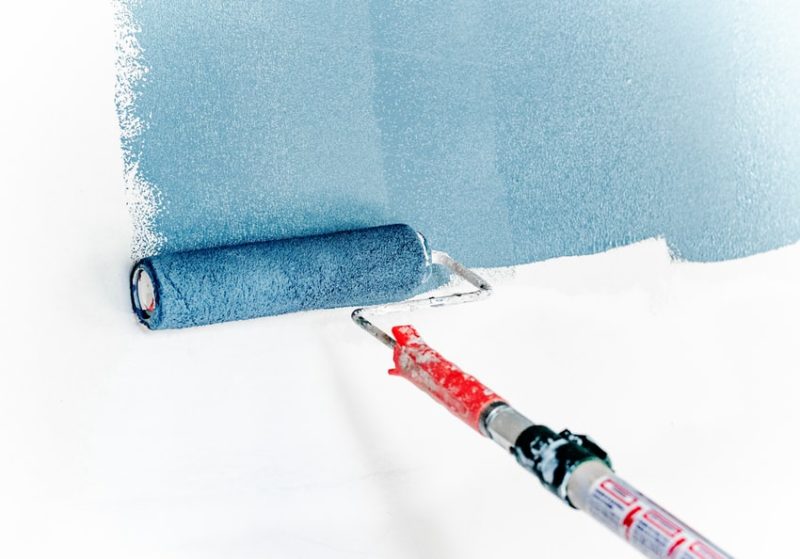
Once you have done your trim and the ceiling, it will be time to paint the walls. The key to having perfectly painted walls is by simply painting from the ceiling downward. People often don’t think about the discretion in which they are painting. When you have painted on the first layer, you mustn’t go in and try to cover any missed spots because that will create streaks and marks when you go to apply the second layer.
Mix Several Cans of Paint in a Large Bucket
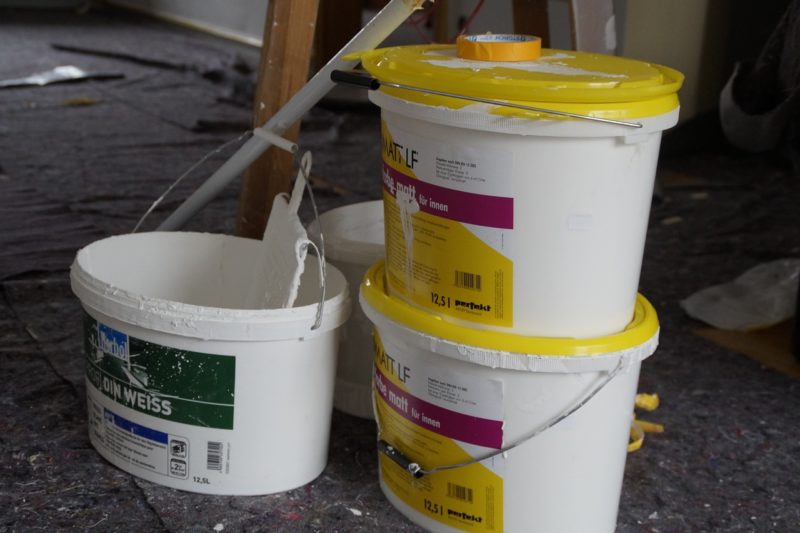
If you are painting a ligger room and you have more than one bucket of paint there is a chance that the paint will be a slightly different shade than the other. To prevent that from happening, you will want to mix both cans into one bucket. You don’t need to mix all of it at once, just roughly estimate how much you will need in one go. Don’t worry about the leftovers because you can always pour the remaining paint back into the can.
Because there are so many creative and amazing technics known to us today, it is really simple to transform the look of your room all by yourself and still be in love with it. But if you aren’t confident that you can do this yourself, make sure that you hire a painter that is qualified enough to do the job.
Author bio:
Ayla Anderson is an avid reader and an enthusiastic blogger who writes articles on home improvement, business, Family and beauty. She is also an MBA student who spends much of her time giving advice to newly small businesses on how to grow their businesses.

