

The electric cooker is a must-have for every household. If the time has come to replace your current electric cooker, whether because the appliance is worn-out after years of everyday use or because you want to upgrade and modernize your kitchen, you may be thinking that installing the new cooker is a simple wiring job.
Still, a professional electric cooker installation is not easy to carry out yourself if you are not a competent do-it-yourself enthusiast. Even more, there are legalities you should be aware of first before you are ready to learn how to install a cooker on your own, roll up the sleeves, and tackle the project. If you are a genuine enthusiast who wants to learn how to install, wire, and connect your brand new electric cooker, follow this guide and find out everything you need to know.
Electrical Regulations
Check if your new electric cooker model is more powerful than the one you previously owned. If that’s the case, you will probably need to install a new circuit to power the appliance. And new circuit installations can only be done by Part P certified electricians.

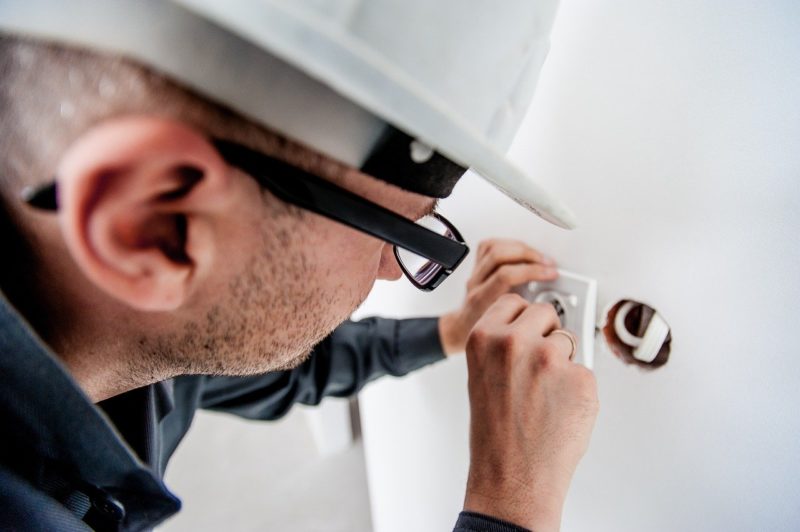
And in case you can use your existing circuit and cooker control unit, you are free to wire your new electric cooker yourself. This procedure can be fatal if you aren’t careful, and you don’t know what you’re doing. Even if you know a thing or two about basic electrical fundamentals, hire a qualified electrician to investigate your work and issue you a Minor Electrical Installation works certificate. Make sure to obtain the certificate, as failure to do so can void your property insurance, and you will undoubtedly have a harder time selling your house.
Check If Your Home Meets The Power Requirements
Since they generate intense amounts of heat, modern-day electric cookers require lots of power to function correctly. That means you will need to get at least a 13 amp fuse, even though the latest models will require a 32 amp fuse. To be sure, read your electric cooker’s manual to check its exact amp rating. The electric cooker will require a separate fuse, so you will need to fit your new appliance on a distinct circuit. This way, the isolated system will ensure that your electric cooker is drawing enough power at all times, and it’s perfectly safe to use it.

Install A Double Pole Isolating Switch
Electric cookers are power-hungry machines that need to be continuously supervised by double pole isolating switches. The isolating switch guarantees that in the event of a short circuit, the appliance’s wiring will no longer carry electrical current. The switch ensures that you won’t get shocked if you happen to touch the device after the occurrence of a short circuit.

Want to know why we recommend a double pole isolating switch instead of a single one? Single switches can only de-energize the live wire, and cookers draw much more power that can energize even the neutral wire. Using double pole switches, you ensure that it shuts both wires off for total safety in case of an emergency.
Figure The Positioning Of Your Cooker Control Unit
The new electric cooker needs to be connected through a thick cable called the cooker control unit. Nevertheless, ensure that your appliance is positioned within two meters of the unit, yet never directly below it to prevent a fire hazard situation. If your control unit is a more latter model, it will probably have neon lights established. The neon lights will signify when the unit is turned on.

Select The Proper Cable For Your Cooking Needs
If you’ve just purchased your brand new electric cooker, chances are, you have a cable included in the packaging. If that’s not the case, here are a couple of tips on selecting the right one:
- Pick a cable with sufficient thickness, like a 2.5 mm heat-resistant cable, which is adequate for most domestic scenarios.
- Select a cable with several wires. Most commonly sold varieties come with three wires, and the cable is frequently referred to as “two core and earth” or a “twin and earth” cable.
- If you are not confident about the right size and type of cable for your electric cooker, read the official manual, and consult with a professional electrician!
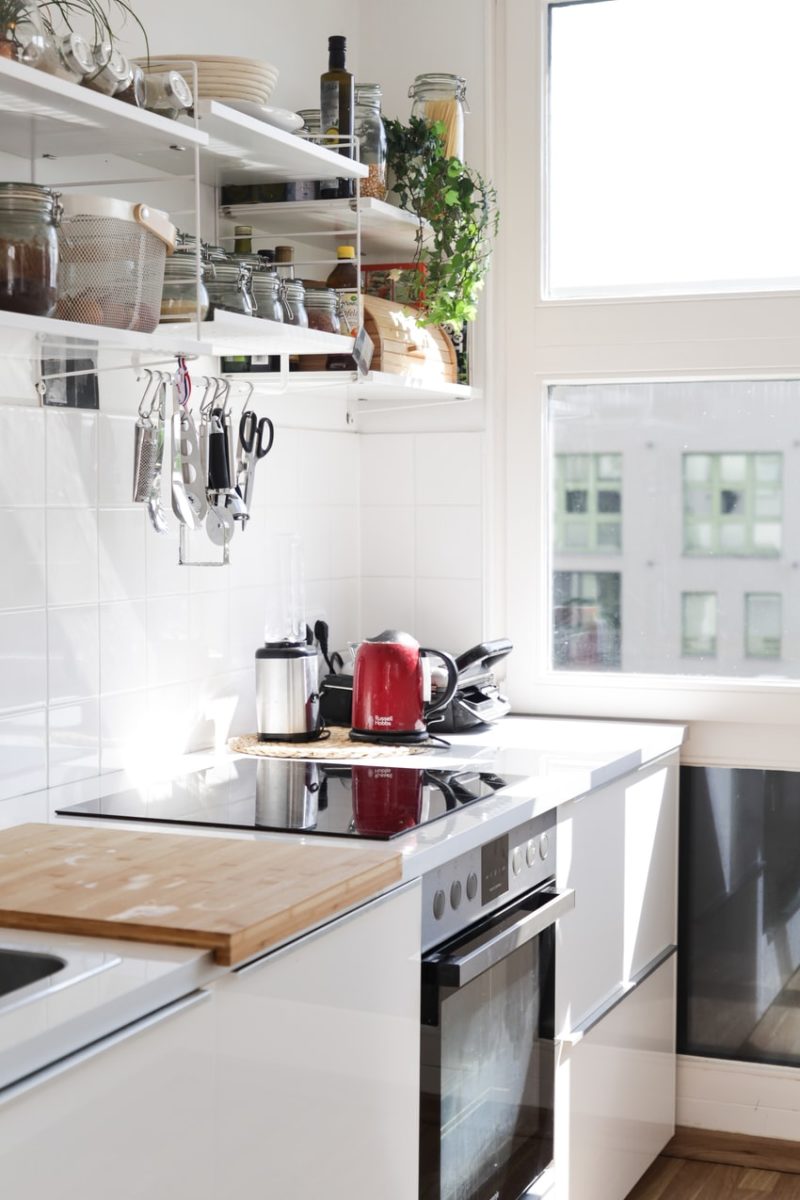
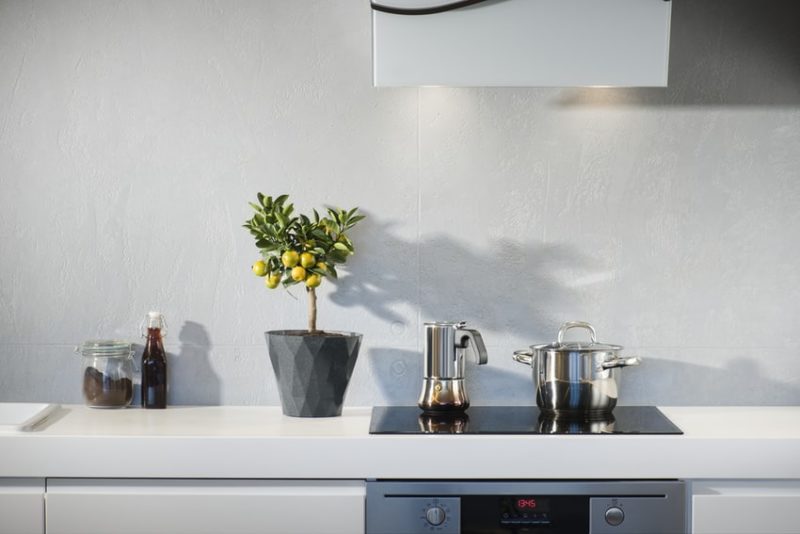
Photo by Beazy
Take The Hot Zone Into Account
The hot zone is the area that is positioned directly above your electric cooker. Before installing the cooker at the desired location, free the hot zone of any materials that are even remotely flammable like boilers, wallpaper, wood, and more. Make sure there is a gap of at least 30 cm between the cooker and any other items installed in your cooking space. This is vital when you’ve just completed a comprehensive property renovation, including kitchen fittings, sinks, fridge installations, or other kitchen appliances.

Connect The Cooker To Your Home’s Power Grid
Now that you have taken all essential safety precautions, it’s time to wire your brand new electric cooker. To ensure a successful installation, here is everything you need to know about connecting the cooker to your home’s power grid.

Connecting The Cable To The Back Of Your Electric Cooker
First and foremost, track down the terminal outlet box on the back of the cooker and unscrew the plate. Afterward, connect the live, neutral, and earth wires into their appropriate slots. Tighten the screws to make sure that the cables are in place and re-apply the backplate.


Connecting The Cooker To The Cooker Control Unit
Observe if the cooker cable is tightly attached to the appliance. Lock the appliance’s circuit to the fuse box to prevent anyone from unintentionally flipping the switch as you are wiring the appliance. Turn on the double pole isolator switch to de-energize the cooker, and place a piece of some protective covering under the cooker to avoid scratching your kitchen’s surface. Utilize a voltage tester to ensure that the cooker control unit is completely shut down and safe to work with. Push the wires into their matching slots, and place the screws back. At last, screw the insulation under the wiring to secure the wires in place.


Voila! Now you can turn the cooker on to check if everything works as it should, and you are ready to cook some delicious meals on your brand new electric cooker.
Final Words
As one can tell, installing and wiring your new electric cooker is not the easiest thing in the world. It takes a lot of patience, preparation, research, DIY skills, extreme care, and the right mindset. However, if you still have as little as a tiny grain of doubt about any part of the process, we highly recommend hiring a certified electrician to do the job for you. After all, safety doesn’t have a price tag.