

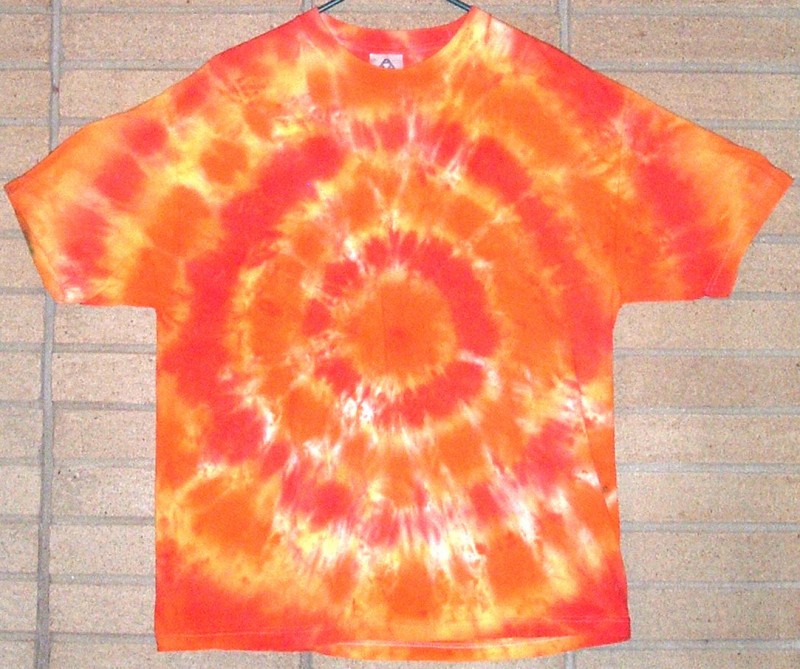
Having at the right print on your T-shirt at the right time can sometimes mean a lot. It is a fact that there are numerous situations in which this can be quite handy. Sometimes, you might want to use it as promotion of your business or something you support. At other times, you might want to share a witty slogan you heard somewhere. Finally, there is always an option to use it as a mean of expressing your creative side. Be as it may, all of this can be easier if you decide to do T-shirt prints in your own home. Here are some of the basics.
Getting the necessary material
First of all, you need to get the screen and the frame, luckily for you these two can be purchased in any art store even separately. Next, you will need a photo emulsion and sensitizer (probably the most expensive separate part). After this, all you need are some minor things like a 250W bulb, latex gloves and of course the T-shirt. In the end, make a darkroom in your home where all of the printing will be taking place.


The quality ink
When it comes to most of these things, it really doesn’t matter what brand you chose to go with, the most important thing is that you get the right quality ink. According to the personal experience of numerous people who resorted to this printing technique using plastisol screen printing ink is the right way to go. After you have this, you are pretty much set and ready for printing.
Choosing the design
Here, you have two options, you can either chose one of the already existent quotes or logos or simply come up with a new one. Browse online for interesting T-shirt designs or simply use a logo of your favorite team or organization. This way, you not only personalize your apparel but express your opinions on important topics as well. If you however decide to make your own logo, look around for numerous programs that may help your there. Still, Photoshop might be the first thing you would want to check out because of its amazing options and unparalleled user-friendliness.

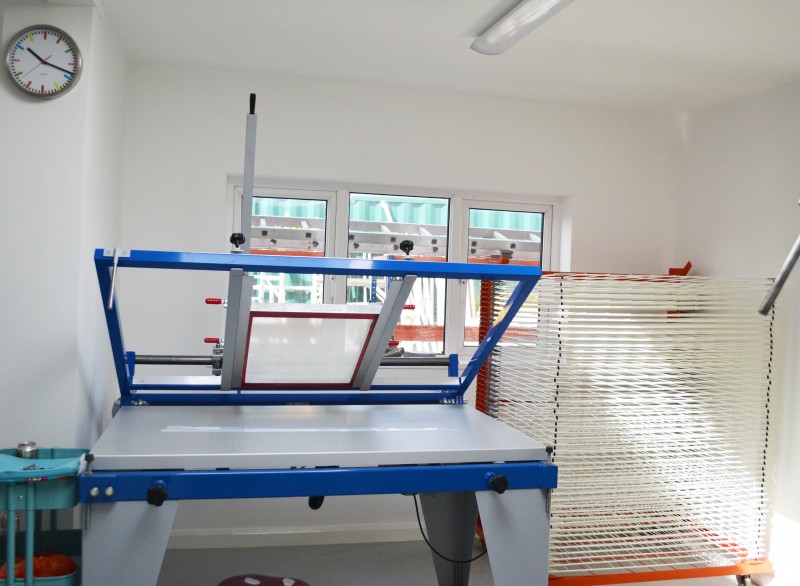
The preparation
First, lay down your frame screen on the plastic bag (because of the side, garbage bags are optimal), and start applying and spreading the emulsion mixture across the screen. Use the squeegee to spread it equally everywhere and repeat the process until everything is covered. After this leave the room and wait for around two hours until it is all completely dry. When it is dry, use the hose or showerhead to clean the screen. Exposed part of the print should be covered with tape.
Print, print, print
The hardest part of your job is now done and soon you will be able to revel in the results. Stuff a square piece of cardboard inside of your T-shirt and lay the frame down on it. Now horizontally pour down some ink on the top of the screen and make one smooth movement with the squeegee across it. Repeat the squeegee movements several times, remove the screen and you are done. You are now in possession of the T-shirt you always wanted to have and which you made on your own.

As you can see, none of this is exactly a rocket science and with a bit of will and some patience it is easily achievable as a DIY project. This way, you will even have one more reason to be proud of your shirt. Not only does it represent your opinion or allegiance, but your resourcefulness as well. This alone is a notion that is indeed nearly impossible to top.