

3 steps to securing your home and valuables
With the advent of cellular-based wireless home security systems, installation has become incredibly easy. There are no wires to route through your home, there are no holes to drill in your walls and you don’t need a trained technician to do it. You don’t need to be a handyman to install a modern cellular alarm system, at most you might need to know how to swing a hammer or use a screwdriver.
DIY installation has several advantages over bringing a technician out to install your system. First, it is less expensive. Second, it restricts information about your system (location of sensors and control panels) from general knowledge. Finally, it gives you the chance to understand how your system works.
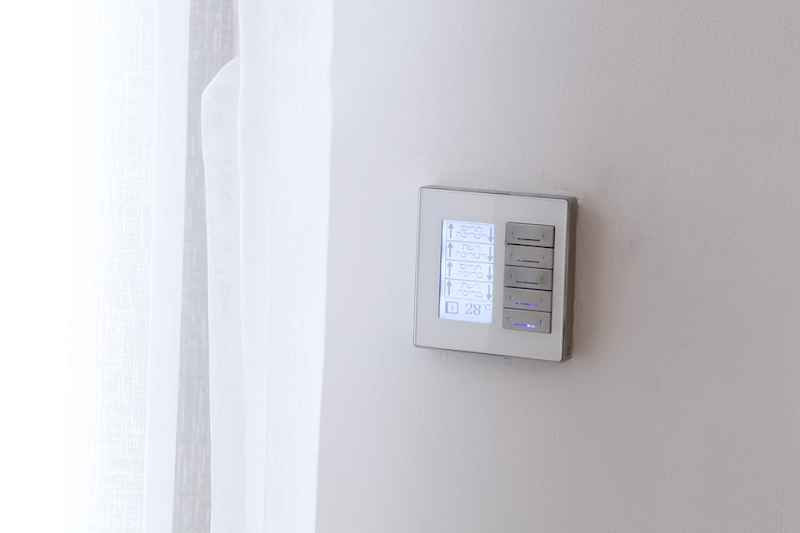
Step 1: Install the security panel
You want to install the security panels close to outside doors, but far enough away that they aren’t visible from the door. One of the weaknesses of cellular security systems is their reliance on batteries or electrical outlets. If your system needs to be plugged in, that will restrict where you can install it.

https://pixabay.com/en/villa-big-house-living-room-2553826/
Most newer systems come with double-sided adhesive to hang the system, but if not, you might want to use a small nail or screw. Make sure you can reach the control panel when entering before the alarm timer runs out. Even if your security system has an app on your smartphone, you want to ensure you can reach the security panel if the app is unavailable, your phone’s battery is dead or you have forgotten it.
Step 2: Install sensors and detectors
Installing door and window alarms is just a matter of attaching sensors to the necessary features. Sensors on outside doors, of course, should be installed and doors that lead from the garage or basement should have sensors attached, as well. All windows that are large enough to allow access should have sensors attached.
Motion detectors (if included) are a little different. You want to give these sensors as much clear space as possible. Furniture, walls and fixtures can create blind spots for motion detectors allowing intruders to avoid them.
The instructions that come with your alarm system will have the specific information you need to install your sensors and detectors in the most effective locations.
Step 3: Test the system
Once everything is installed and turned on, test the system. Ensure that every sensor is working, that you have eliminated as many blind spots as possible and that you have enough time to disengage the security system when entering the house.
Once you have determined that your system is functional, run the test through your alarm company and ensure they are getting the information from the sensors. It doesn’t do any good to have the best alarm system on the market if your monitoring company doesn’t get the information.
DIY isn’t for everyone
Although DIY systems have become easy to install, secure and affordable, they are not the solution for everyone’s needs. There are some options available in-home security systems that are not usually DIY ready. Panic buttons, motion sensors that allow pets to roam freely, fire and carbon monoxide monitoring are options that usually require a trained technician to install. Replacing components of a DIY system also fall on the homeowner.
To find a full review of current home security systems, visit homesecuritysystem.co for side by side comparisons and reviews of nationally available alarm systems. Home security is an important part of modern home owning and, as a consumer, you want the best value for your money without losing out on security.