

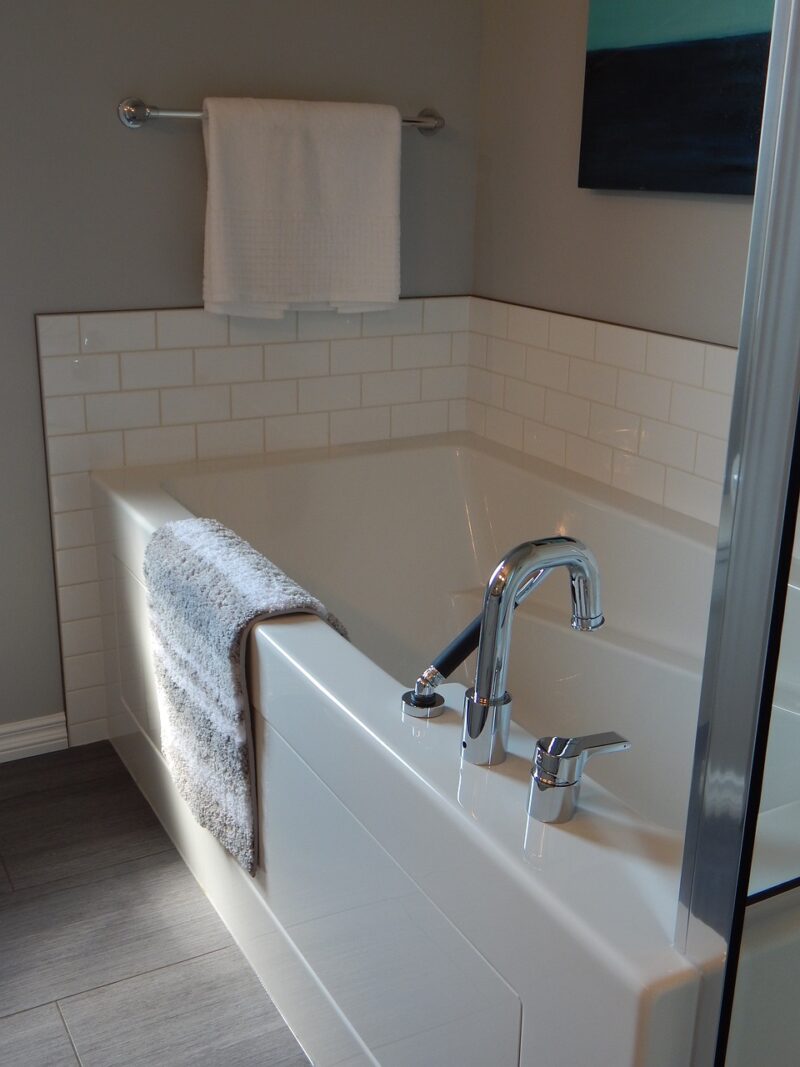
A towel rack is not only a practical addition to your bathroom but also a great way to keep your towels organized and easily accessible. Installing a towel rack may seem like a daunting task, but with the right tools, a systematic approach, and a little patience, it can be a straightforward DIY project. In this comprehensive guide, we will walk you through the step-by-step process of installing a towel rack on your bathroom wall, ensuring a sturdy and functional result that will enhance the overall aesthetic of your space.
Step 1: Choose the Perfect Location
Before diving into the installation process, it is crucial to select the optimal location for your towel rack. Consider factors such as convenience, accessibility, and the height that suits your needs. Ideally, the towel rack should be within arm’s reach of the shower or bathtub, ensuring towels are easily accessible after use. Additionally, take into account the aesthetic balance of the space, ensuring the towel rack complements other fixtures and aligns with your overall design vision.


To ensure a secure installation, it is essential to locate the studs behind the bathroom wall. By using a stud finder, you can accurately determine the position of the studs, which provide the necessary support for a sturdy towel rack. Mark the stud locations with a pencil for easy reference during the installation process.
Step 2: Gather the Required Tools and Materials
Before you begin the installation, gather all the necessary tools and materials. Having everything on hand will save time and make the process more efficient. Here’s a list of the items you’ll need:
- Towel rack
- Measuring tape
- Pencil
- Stud finder
- Level
- Screwdriver or drill
- Screws
- Wall anchors (if studs are not available)
By having these tools readily available, you’ll be prepared for each step of the installation process.
Step 3: Measure and Mark the Mounting Points
Accurate measurement and marking of the mounting points are essential to ensure proper alignment and balance for your towel rack. Use a measuring tape to determine the desired height for the towel rack, keeping in mind practicality and personal preference. Mark the spots on the wall with a pencil, ensuring they align with the previously identified stud locations.


To achieve a visually appealing and symmetrical look, consider centering the towel rack between other fixtures or on an open wall space. Using a level, double-check the alignment and adjust the marks as necessary. This meticulous attention to detail will result in a professional-looking installation.
Step 4: Install the Mounting Brackets
Once the mounting points are marked, it’s time to install the mounting brackets. Carefully detach the brackets from the towel rack. Place one bracket on each marked point, ensuring they align with the stud locations. Using a screwdriver or drill, secure the brackets to the wall by driving screws through the pre-drilled holes in the brackets and into the studs. Make sure the brackets are level by checking their alignment with a level tool.
If the stud locations do not align with your desired mounting points, or if studs are not available, you will need to use wall anchors for additional support. Wall anchors expand behind the drywall, providing stability and preventing the towel rack from loosening over time. Follow the manufacturer’s instructions to ensure proper installation of the wall anchors.
Step 5: Attach the Towel Rack
With the mounting brackets securely in place, it’s time to attach the towel rack itself. Slide the towel rack arms onto the mounting brackets, ensuring a snug fit. Some towel rack models may require tightening screws or other fastening mechanisms to hold the arms in place. Follow the manufacturer’s instructions to ensure the towel rack is properly secured.

Take a moment to step back and assess the alignment and levelness of the towel rack. Use a level tool to verify that the rack is straight and adjust if necessary. This attention to detail will ensure a polished and professional installation.
Step 6: Test and Finalize
Before considering the installation complete, it’s important to test the stability and weight-bearing capacity of the towel rack. Give it a gentle tug to ensure it is securely fastened to the wall. A properly installed towel rack should be able to withstand the weight of towels without wobbling or coming loose.
Additionally, check the levelness of the towel rack one final time. Make any necessary adjustments to ensure it is perfectly aligned. Place a towel on the rack to verify its stability and functionality.
Once you are satisfied with the installation, step back and admire your handiwork. Congratulations! You have successfully installed a towel rack on your bathroom wall, enhancing the organization and functionality of your space.
Conclusion
Installing a towel rack on your bathroom wall is a manageable DIY project that can elevate the functionality and aesthetics of your bathroom. By following the step-by-step instructions provided in this comprehensive guide, you can achieve a secure and professional-looking installation. Remember to carefully choose the location, gather the necessary tools and materials, measure and mark the mounting points accurately, install the mounting brackets securely, attach the towel rack properly, and perform thorough testing before finalizing the installation. Embrace the satisfaction of completing this project and enjoy the convenience and elegance of your newly installed towel rack.