

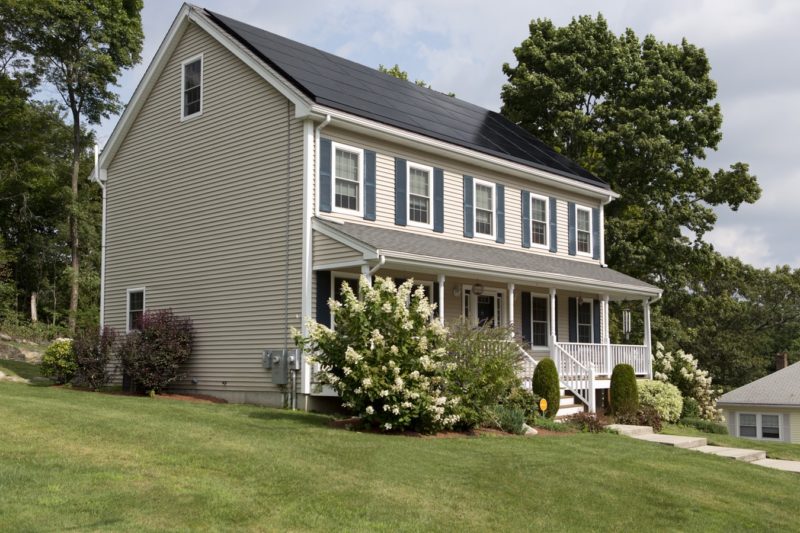
Thanks to its cost-effective and virtually maintenance-free design, vinyl has become the go-to siding option in Delaware, Maryland, and Pennsylvania. From upgrading your home’s exterior with minimal effort to protecting your home against the elements, while reducing your energy use. Understandably many tri-state homeowners choose vinyl siding.
These 9 pro tips will help you get started!
1- Start with a Wider Strip
Most homeowners typically use a thinner strip to get started. This option is more budget-friendly, however most Delaware siding experts emphasize on investing in a wider starter strip, as it gives the foundation better coverage. This, along with starting the siding as low as possible, can ensure the optimal protection against the elements.

2- Keep the Siding Straight
The siding needs to be leveled for proper installation. It’s only as straight as the surface it’s applied on, so removing original, uneven siding may be necessary. Continuously check the horizontal alignment of the panels throughout the process to ensure they remain aligned.
3- Leave Room for Expansion and Contraction
You’ll need to leave space on the ends during the installation. To achieve this, cut both ends slightly shorter. ¼” is usually enough for the expansion during hot seasons and the contraction during cold ones.

4- Pull As You Nail
To ensure your siding does not come apart, pull up each piece slightly while nailing it. Applying upward pressure helps lock the pieces together, creating a secure and sturdy bond between the panels.
5- Use a Vinyl Blade
Using the wrong blade can cause your siding to shatter, which can be frustrating and dangerous; instead, use a specialty vinyl blade to ensure that your cuts are smooth and precise.


6- Pick the Right Nails
Choose galvanized roofing nails to secure the siding firmly in place and ensure that it can withstand anything. Make sure that your nails are at least 2’’ long, but if the siding is placed on top of a rigid foam instead of up against sheathing, then your nails will have to be a little longer.
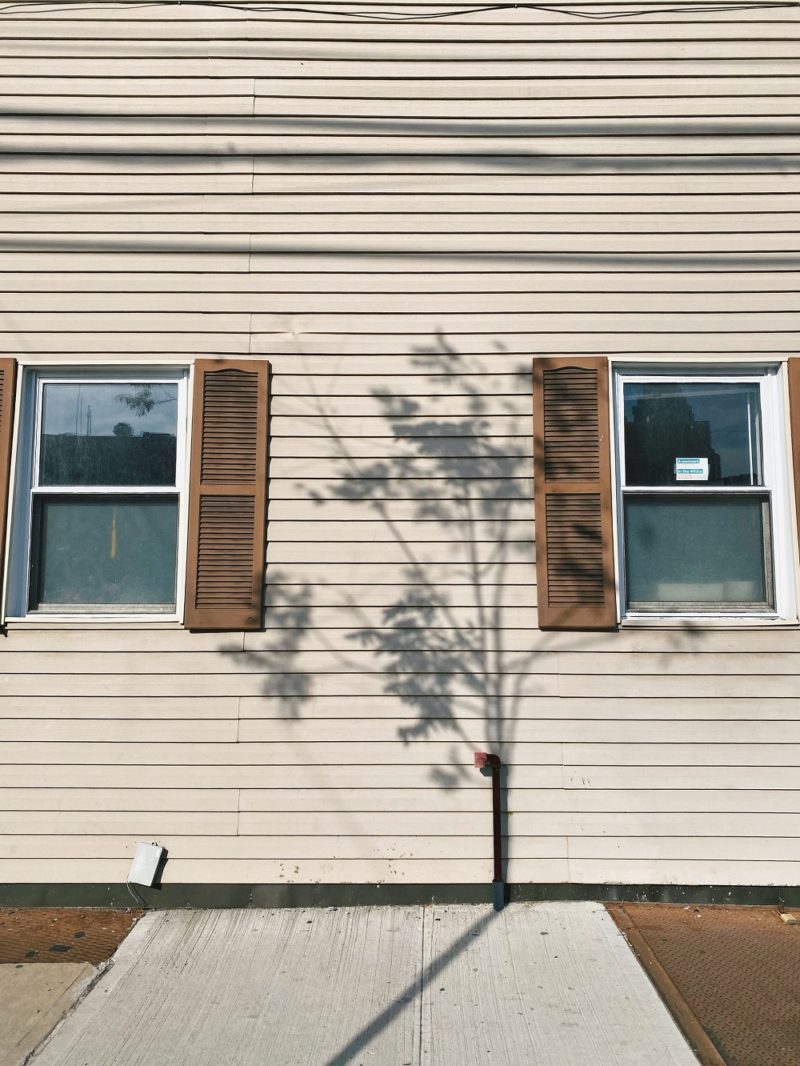
7- Flash Window Bottoms
Flash the bottom sides of each window by cutting out a piece of roofing felt, and nailing it over the corner before you install the side J-channels. The felt will keep the water from seeping through behind the J-channels and rotting your frames. In order for flashing to function, overlap the bottom of the flashing onto the run of siding just below it.

8- Install Longer Panels First
Long panels don’t stretch as much as smaller ones do, which means that they’re harder to adjust if you misplace them. It’s important to always start with the sides that need longer panels when you’re installing vinyl siding around a window or door.
9- Measure Everything
The importance of thoroughly measuring the entire exterior of your house cannot be emphasized enough. Always start by measuring your house as a square before you deduct the space for windows or doors.

Whether you’re a DIY enthusiast or a certified pro, vinyl is easy to install. With these tips, you’ll get the job done properly, avoid common mistakes, cut installation time down, and save yourself hours of frustration.